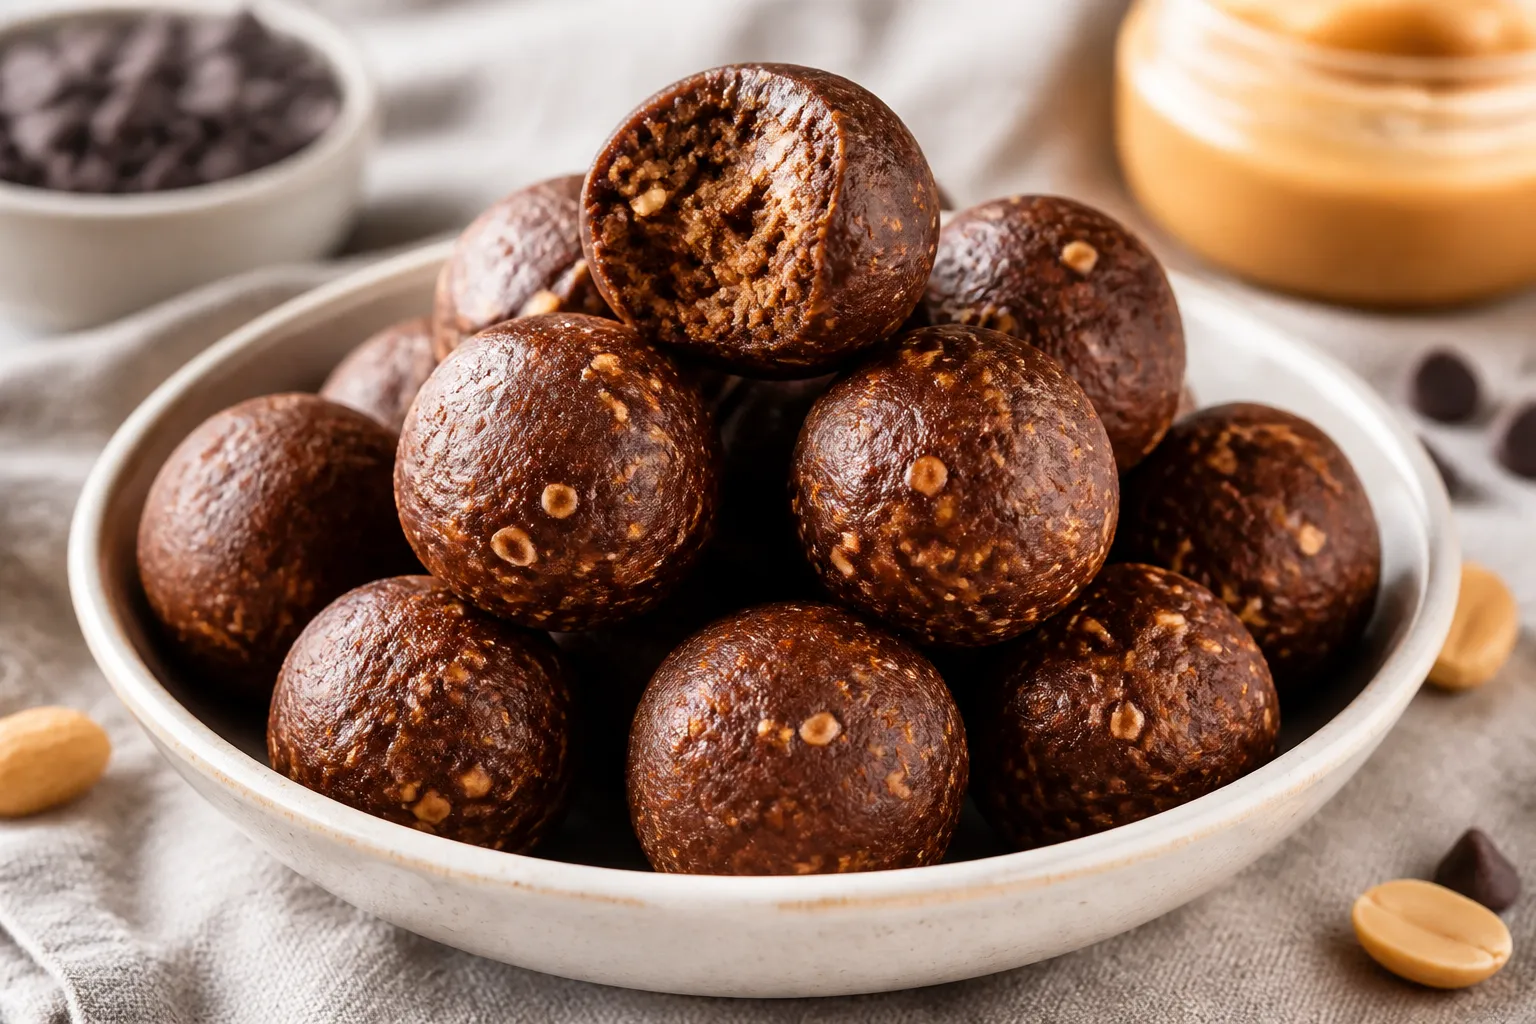
No Bake Chocolate Peanut Butter Protein Balls – Quick, Satisfying, and Naturally Sweet
These no bake chocolate peanut butter protein balls are the kind of snack you’ll actually look forward to eating. They’re soft, fudgy, and perfectly sweet with a little salty peanut butter finish. You can make a batch in under 15 minutes and keep them in the fridge for easy grab-and-go energy.
No oven, no fuss, and no weird ingredients. Just simple pantry staples that taste like dessert but work like fuel.
No Bake Chocolate Peanut Butter Protein Balls - Quick, Satisfying, and Naturally Sweet
Ingredients
Method
- Mix the wet ingredients. In a large bowl, stir together the peanut butter, honey (or maple), and vanilla until smooth and creamy.
- Add the dry base. Add oats, protein powder, cocoa powder, and salt. Stir with a sturdy spoon or spatula until a thick dough starts to form. It will look crumbly at first—keep going.
- Adjust the texture. Add milk 1 tablespoon at a time and mix after each addition. You’re aiming for a dough that holds together when pressed but isn’t sticky. Depending on your protein powder and peanut butter, you may need more or less liquid.
- Fold in the goodies. Stir in mini chocolate chips. If the dough feels too soft, pop it in the fridge for 10 minutes to firm up.
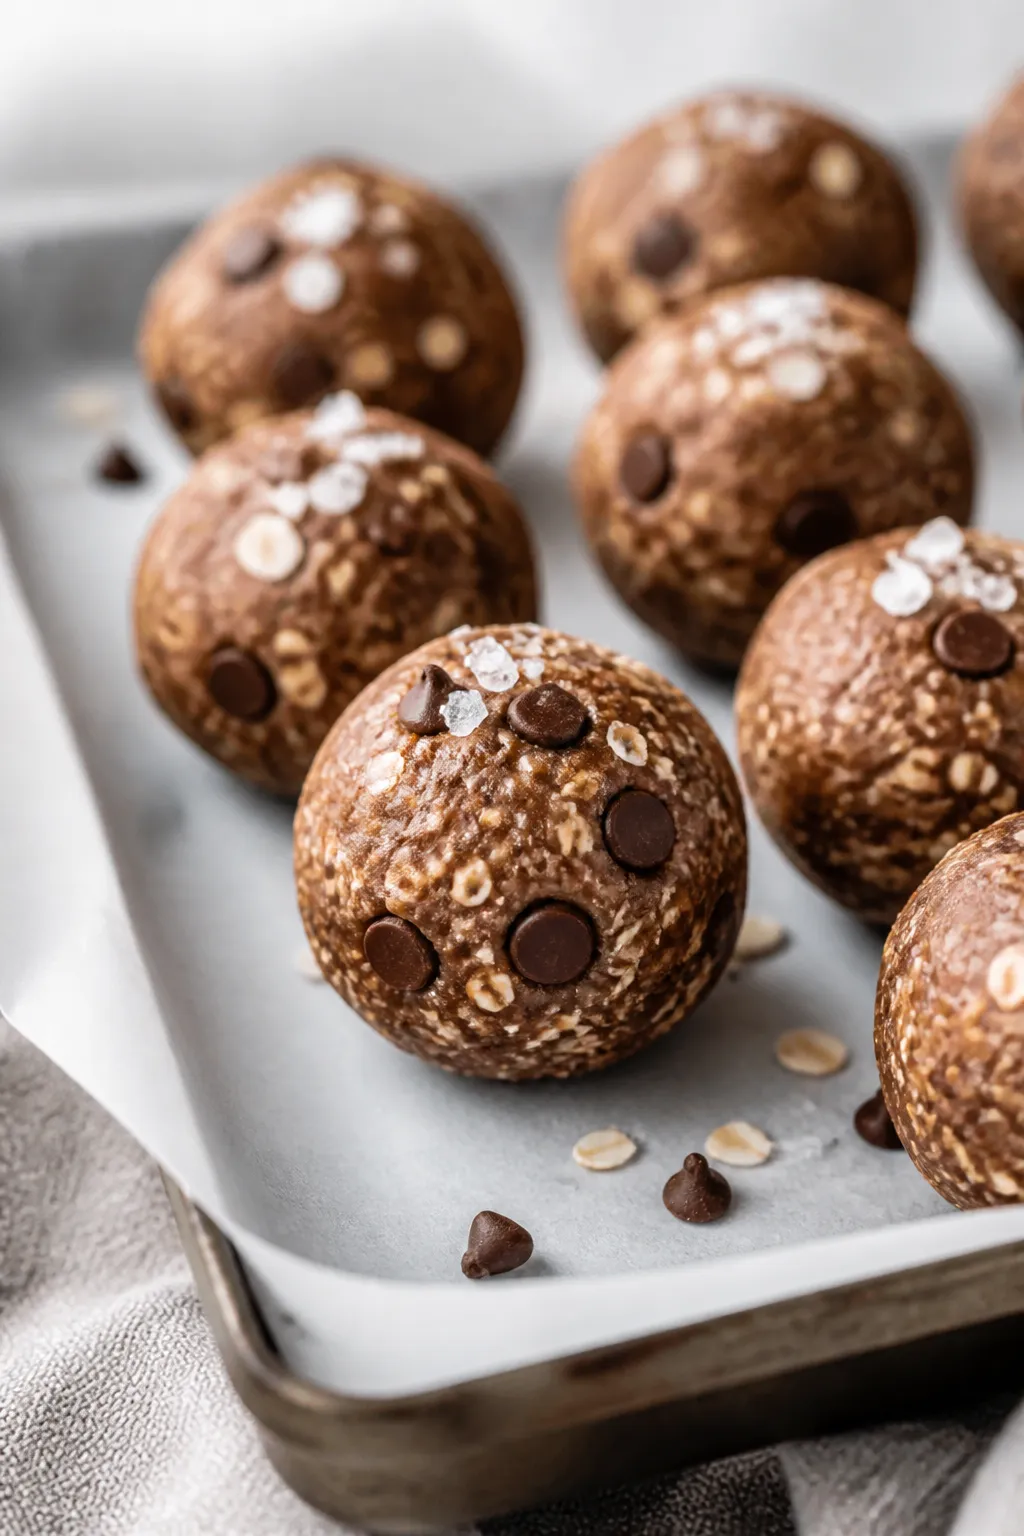
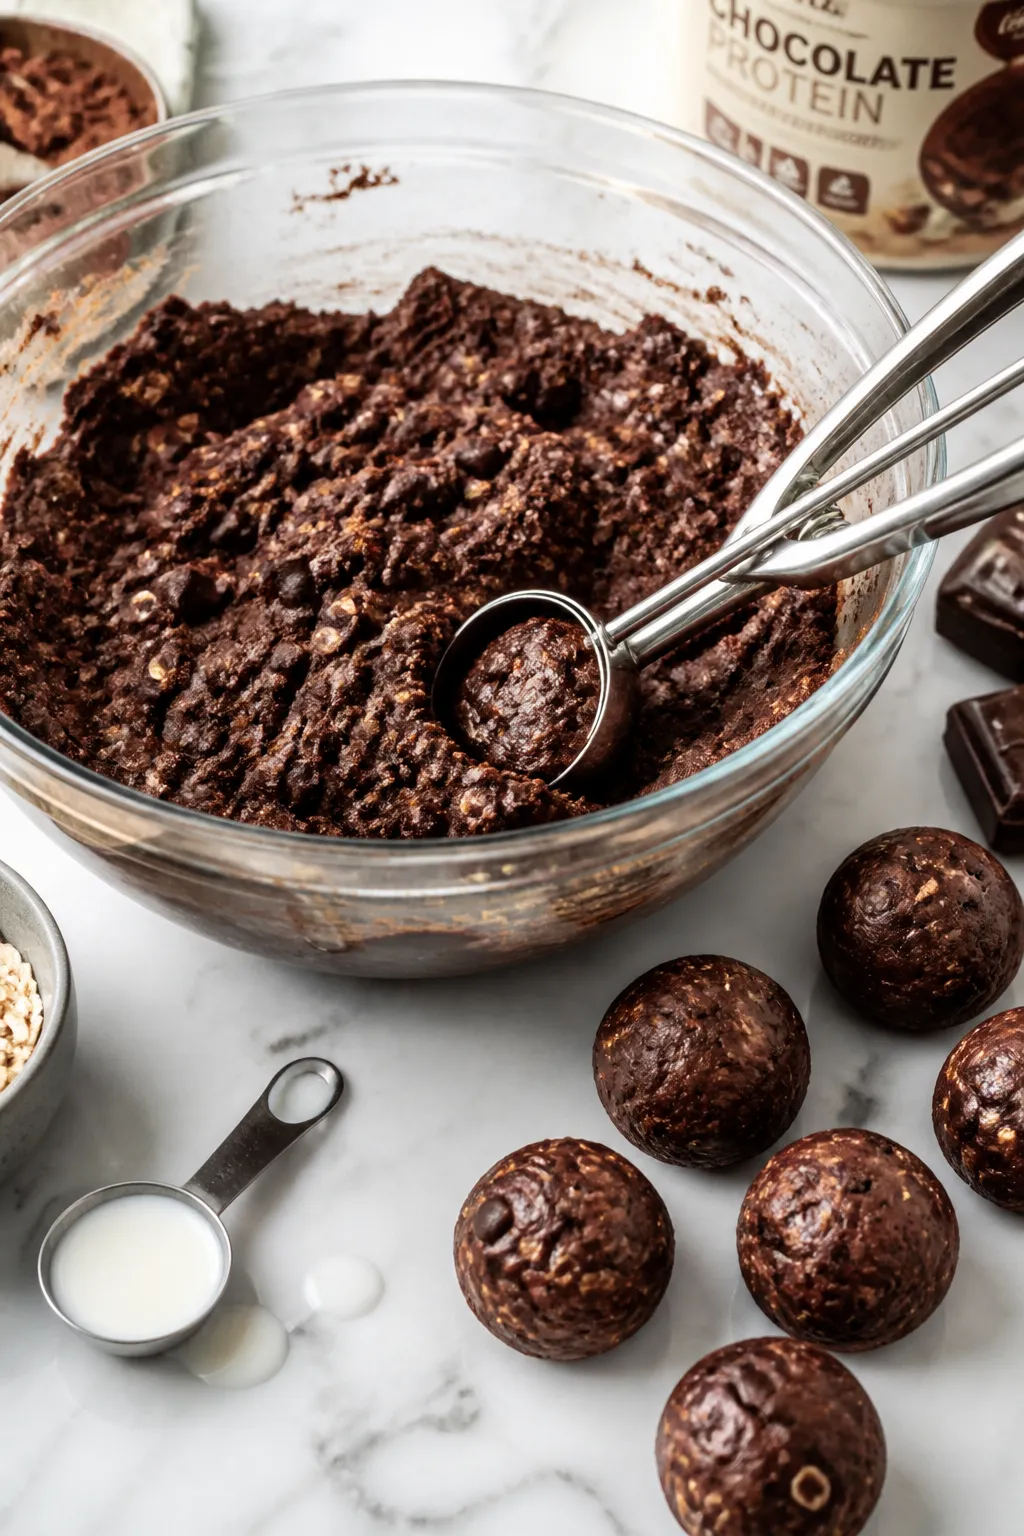
- Roll into balls. Scoop about 1–1.5 tablespoons of dough per ball. Roll between your palms to form smooth, bite-sized rounds. You should get 18–22 balls, depending on size.
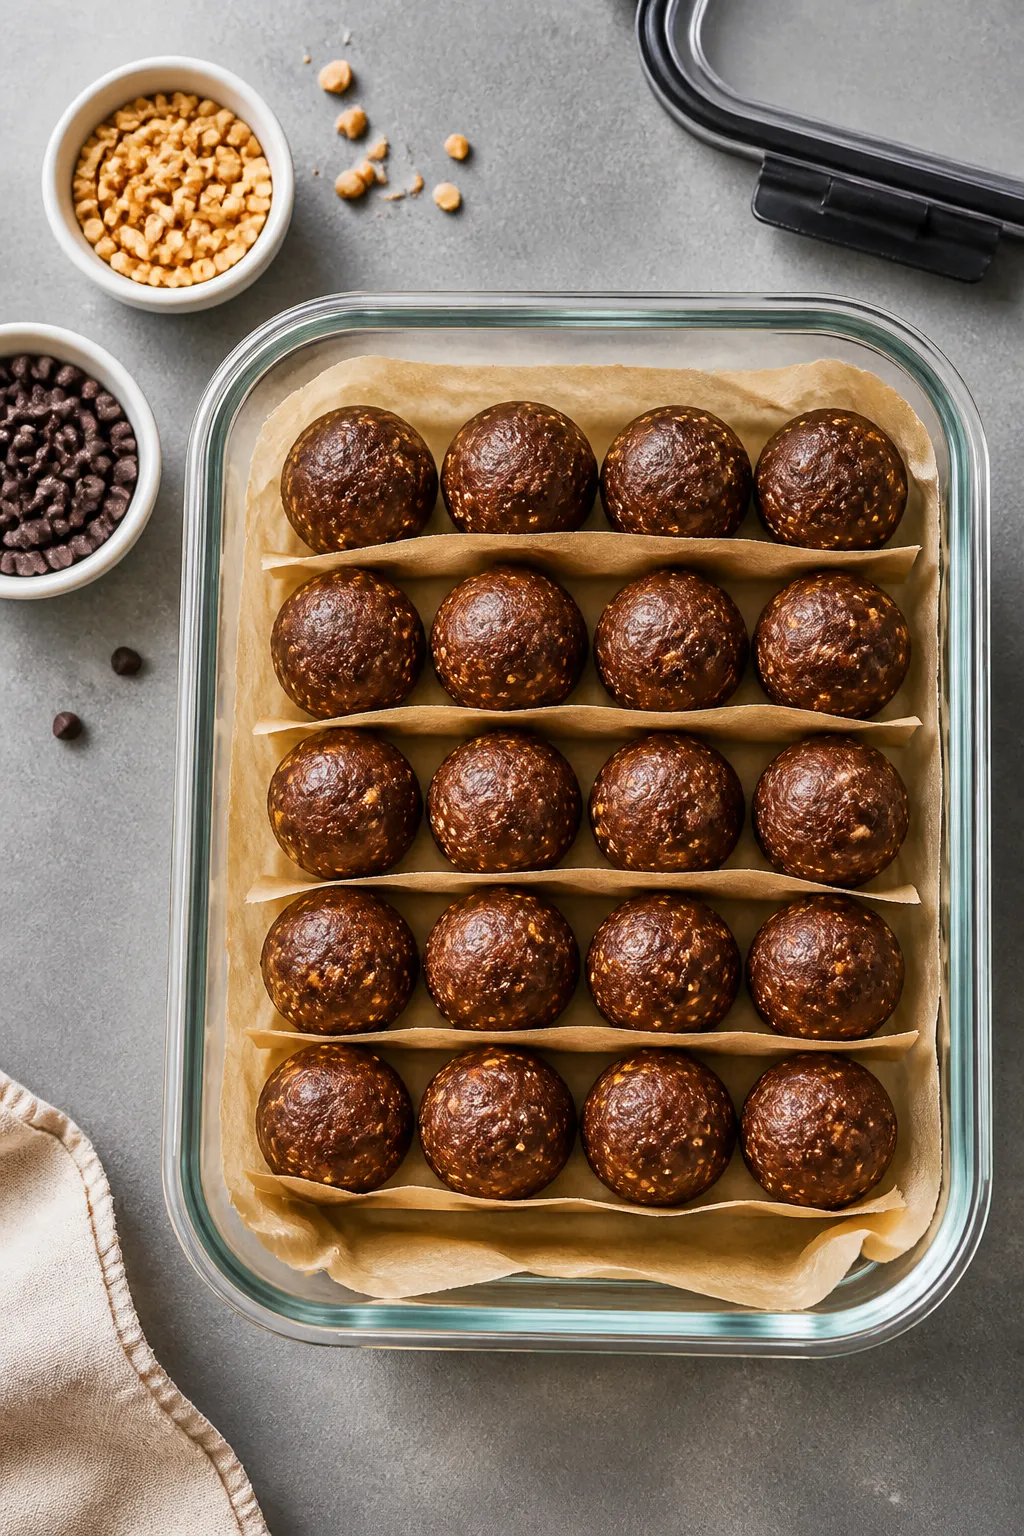
- Chill to set. Place the balls on a parchment-lined plate or tray and refrigerate for at least 20–30 minutes to set. They’ll firm up and become easier to store.
- Enjoy or store. Eat right away or transfer to an airtight container for later. See storage tips below.

What Makes This Recipe So Good
- Fast and foolproof: Everything comes together in one bowl with basic pantry ingredients. No baking or special equipment.
- Balanced energy: Protein, healthy fats, and fiber help keep you full and steady, without a sugar crash.
- Customizable: Swap the nut butter, change the protein, add mix-ins—it’s easy to tailor to taste and dietary needs.
- Kid-friendly: Tastes like a treat, but made with wholesome ingredients you can feel good about.
- Perfect for meal prep: Make once, snack all week.
They store beautifully in the fridge or freezer.
Ingredients
- 1 cup natural creamy peanut butter (well-stirred; use salted for best flavor)
- 1/3 cup honey or pure maple syrup (adjust to taste)
- 1 teaspoon vanilla extract
- 1 1/2 cups old-fashioned rolled oats (use certified gluten-free if needed)
- 1/2 cup chocolate protein powder (whey or plant-based)
- 2 tablespoons cocoa powder (unsweetened)
- 1/4 teaspoon fine sea salt (skip if your peanut butter is very salty)
- 2–4 tablespoons milk of choice (dairy or non-dairy, as needed for texture)
- 1/3 cup mini chocolate chips (optional but recommended)
How to Make It
- Mix the wet ingredients. In a large bowl, stir together the peanut butter, honey (or maple), and vanilla until smooth and creamy.
- Add the dry base. Add oats, protein powder, cocoa powder, and salt. Stir with a sturdy spoon or spatula until a thick dough starts to form. It will look crumbly at first—keep going.
- Adjust the texture. Add milk 1 tablespoon at a time and mix after each addition.
You’re aiming for a dough that holds together when pressed but isn’t sticky. Depending on your protein powder and peanut butter, you may need more or less liquid.
- Fold in the goodies. Stir in mini chocolate chips. If the dough feels too soft, pop it in the fridge for 10 minutes to firm up.
- Roll into balls. Scoop about 1–1.5 tablespoons of dough per ball.
Roll between your palms to form smooth, bite-sized rounds. You should get 18–22 balls, depending on size.
- Chill to set. Place the balls on a parchment-lined plate or tray and refrigerate for at least 20–30 minutes to set. They’ll firm up and become easier to store.
- Enjoy or store. Eat right away or transfer to an airtight container for later.
See storage tips below.
Storage Instructions
- Refrigerator: Store in an airtight container for up to 1 week. Separate layers with parchment to prevent sticking.
- Freezer: Freeze on a tray until solid, then move to a freezer bag or container. They keep well for up to 3 months.
- Thawing: Let sit at room temperature for 10–15 minutes, or eat straight from the freezer if you like a firmer, chewier texture.
Benefits of This Recipe
- High in protein: A convenient way to boost daily protein intake without cooking a full meal.
- Smart carbs and fiber: Oats offer slow-digesting carbs and fiber for steady energy.
- Healthy fats: Peanut butter provides satisfying fats that keep you full and support overall nutrition.
- Lower in added sugar: Sweetened naturally with honey or maple; no refined sugar required.
- Budget-friendly: Uses common, affordable ingredients you probably already have.
- Portable: Perfect for the gym bag, lunch box, or road trips.
What Not to Do
- Don’t skip measuring the liquid. Adding too much milk makes sticky, hard-to-roll dough.
Add slowly and stop when it holds together.
- Don’t use quick or instant oats if you want texture. Rolled oats give a better bite and help the balls keep their shape.
- Don’t use a dry, unstirred peanut butter. Oil separation is normal; stir well before measuring to get the right consistency.
- Don’t pack the dough too tightly. Over-rolling can make them dense. Roll gently for a soft, fudgy bite.
- Don’t skip chilling. A short chill helps the balls set so they store and travel better.
Recipe Variations
- Almond or cashew twist: Swap peanut butter for almond or cashew butter. Add a pinch of cinnamon for warmth.
- Mocha energy balls: Add 1–2 teaspoons instant espresso powder to the dry ingredients for a coffee kick.
- Salted crunch: Roll finished balls in crushed peanuts or sprinkle with flaky sea salt before chilling.
- No chocolate chips: Mix in chopped dates, raisins, or dried cherries instead.
Chopped roasted peanuts are great, too.
- Coconut cocoa: Add 1/4 cup unsweetened shredded coconut and roll the balls in extra coconut to finish.
- Seed-powered: Stir in 2 tablespoons chia seeds or ground flax for extra fiber and omega-3s.
- Gluten-free: Use certified gluten-free oats and check your protein powder label.
- Dairy-free: Choose a plant-based protein powder and non-dairy milk; use dairy-free chocolate chips.
- Lower sugar: Reduce honey/maple to 1/4 cup and add 1–2 extra tablespoons milk, if needed, to bring the dough together.
FAQ
Can I make these without protein powder?
Yes. Replace the 1/2 cup protein powder with 1/4 cup extra oats and 1–2 tablespoons ground flax or almond flour. You may need a touch less milk since protein powder absorbs more liquid.
What kind of peanut butter works best?
Natural creamy peanut butter with just peanuts (and salt) gives the best flavor and texture.
If yours is very runny, start with less milk. If it’s very thick, you may need an extra tablespoon of milk to help the dough bind.
How much protein is in each ball?
It depends on your protein powder and ball size. As a ballpark, using a typical chocolate whey powder, each ball usually provides around 5–7 grams of protein.
Check your labels and divide by your total yield for a more exact number.
My dough is too crumbly. How do I fix it?
Add milk 1 teaspoon at a time and knead. Warm hands help.
If it’s still dry, add a spoonful of peanut butter. Aim for a dough that holds when pressed but doesn’t smear on your hands.
My dough is too sticky. What should I do?
Sprinkle in a bit more oats or protein powder and mix again.
Chilling the dough for 10–15 minutes also helps it firm up before rolling.
Can I make them nut-free?
Yes. Use sunflower seed butter or tahini, and choose a nut-free protein powder. Taste and adjust sweetener and salt, since seed butters can be more bitter.
Do I need to refrigerate them?
Refrigeration keeps them fresh and firm.
They’re safe at room temp for a few hours, but for longer storage, keep them in the fridge or freezer.
Can I use steel-cut oats?
No. Steel-cut oats are too hard and chewy for no-bake recipes. Stick with rolled oats or quick oats if you prefer a softer texture.
What’s the best way to portion them evenly?
Use a small cookie scoop or a tablespoon measure.
Scoop, level, and roll for even sizes that chill and store consistently.
In Conclusion
No bake chocolate peanut butter protein balls are the rare snack that checks every box: quick, tasty, and genuinely nourishing. With a handful of ingredients and a few minutes, you get a batch of fudgy bites that feel like dessert but deliver steady energy. Keep them in the fridge for busy mornings, post-workout snacks, or a sweet fix that won’t throw off your day.
Once you make them, you’ll wonder how you ever managed without a stash ready to go.
Printable Recipe Card
Want just the essential recipe details without scrolling through the article? Get our printable recipe card with just the ingredients and instructions.