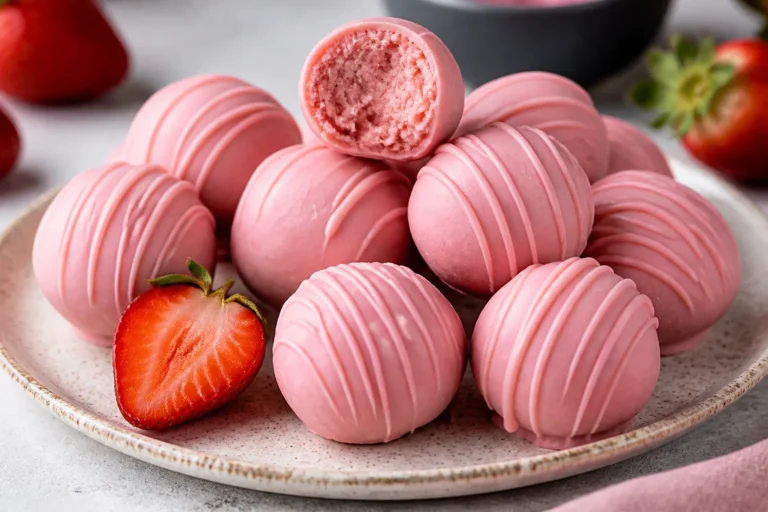
High Protein Peanut Butter Cheesecake Bites – Creamy, Satisfying, and Easy
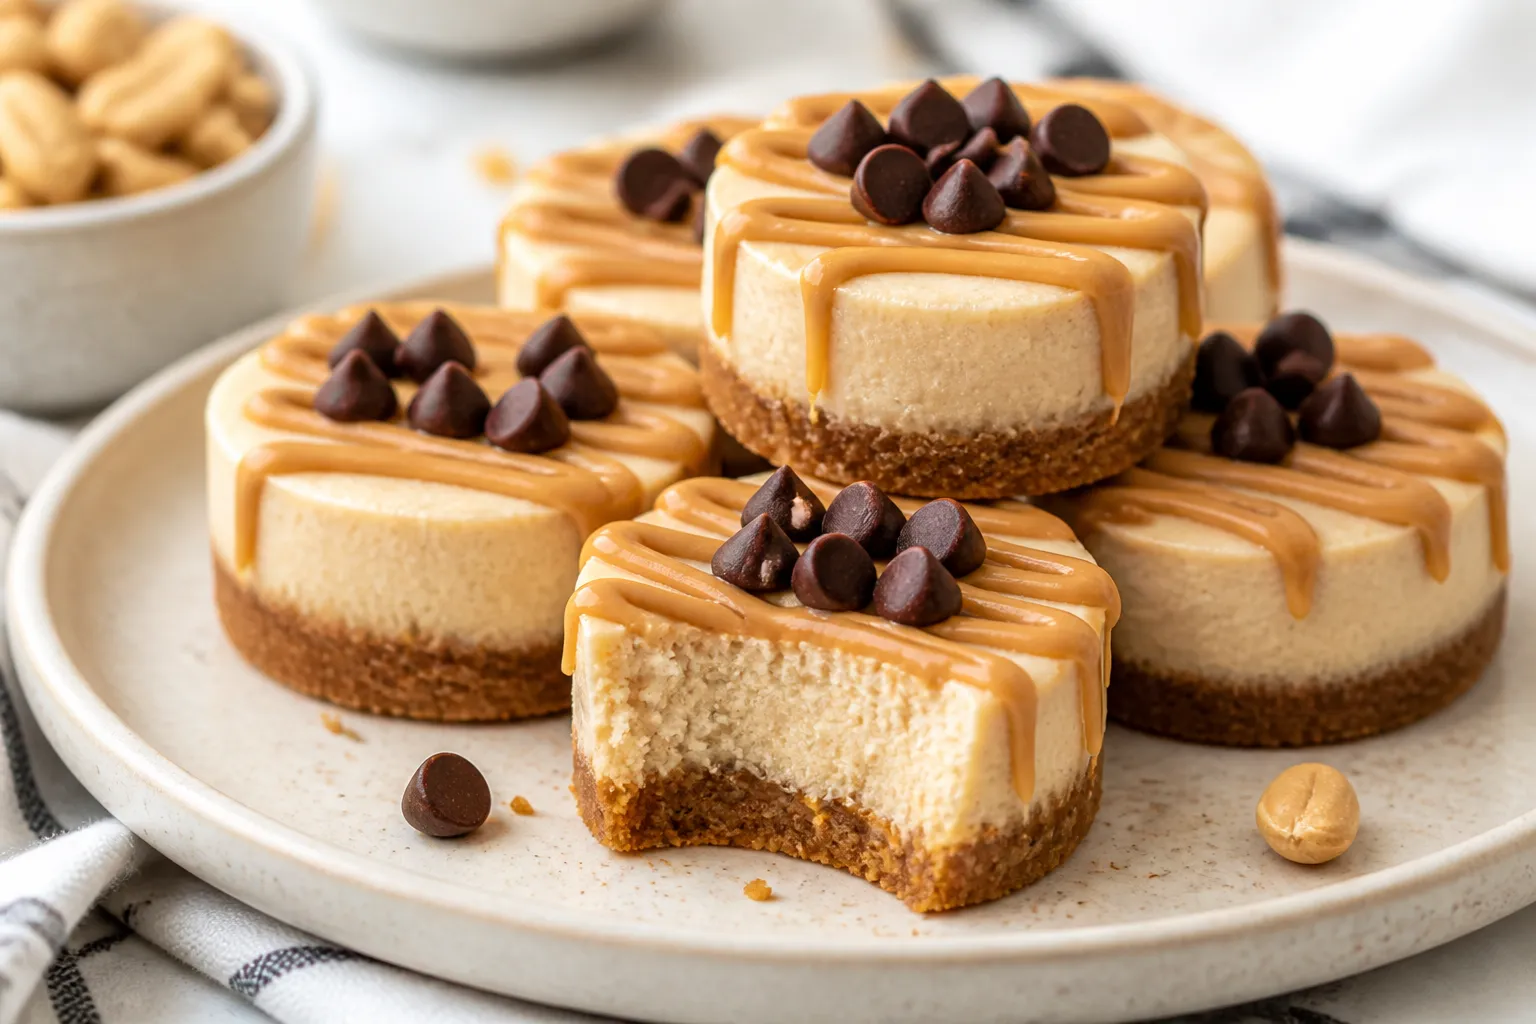
If you love peanut butter cups and cheesecake, these high protein peanut butter cheesecake bites will hit all the right notes. They’re creamy, rich, and just sweet enough, with a big protein boost to keep you satisfied. You can meal-prep a batch in under an hour and keep them in the fridge or freezer for quick snacks.
No fancy equipment required, and the ingredients are simple and easy to find. Whether you’re chasing macros or just want a smarter dessert, these bites deliver comfort without the crash.
Ingredients
Method
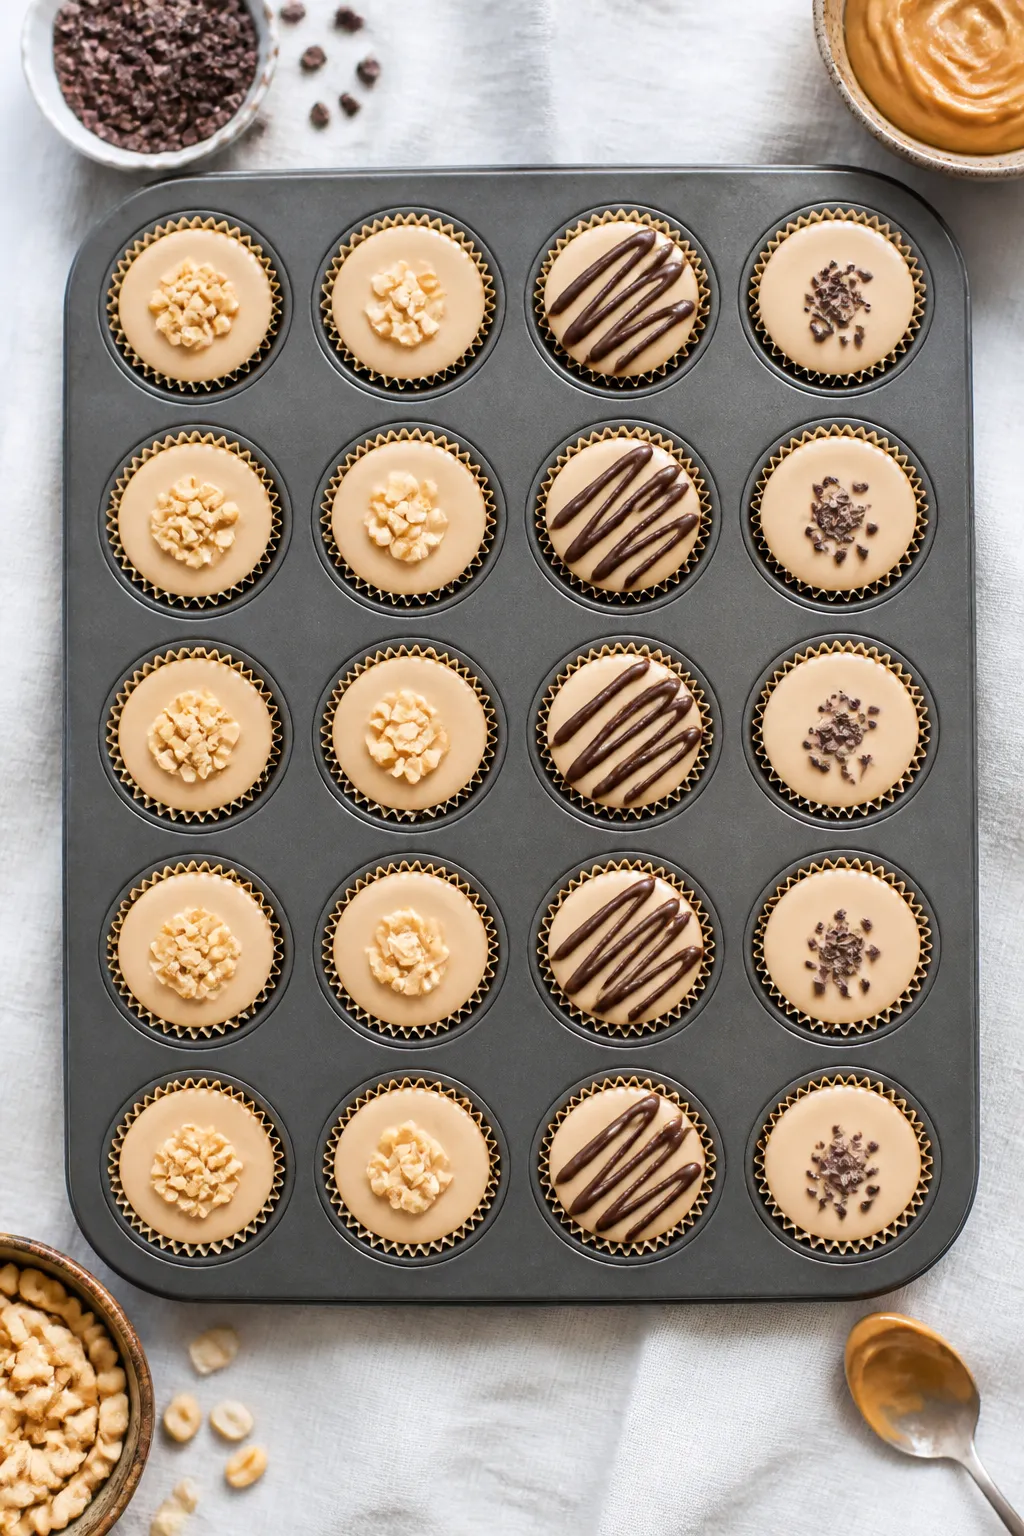
- Prep your pan: Line a mini muffin tin with paper liners. This recipe makes about 24 mini bites. If you’re using silicone molds, a quick mist of nonstick spray helps with release.
- Optional crust: Stir graham crumbs with melted butter or coconut oil until they resemble wet sand. Press about 1 teaspoon into each liner. Freeze for 10 minutes to set. Skip this step if you want lower carbs or prefer crustless bites.
- Soften and whisk: In a mixing bowl, beat softened cream cheese with a hand mixer until smooth and lump-free. This prevents a gritty texture later.
- Add yogurt and peanut butter: Whisk in Greek yogurt and peanut butter until creamy. Scrape the bowl so everything blends evenly.
- Sweeten and flavor: Add maple syrup or honey, vanilla extract, lemon juice, and a pinch of salt. Taste and adjust sweetness. Remember the protein powder will mellow it, so slightly sweeter now is good.
- Mix in protein powder: Sprinkle protein powder over the mixture and blend on low until just combined. Avoid overmixing to keep the texture silky. If it seems too thick, add 1–2 tablespoons of milk or almond milk.
- Fill the cups: Spoon the cheesecake mixture over the crust (or straight into liners) until nearly full. Smooth the tops with the back of a spoon.
- Chill to set: Refrigerate for at least 2–3 hours, or freeze for 60–90 minutes. They should feel firm but creamy when pressed.
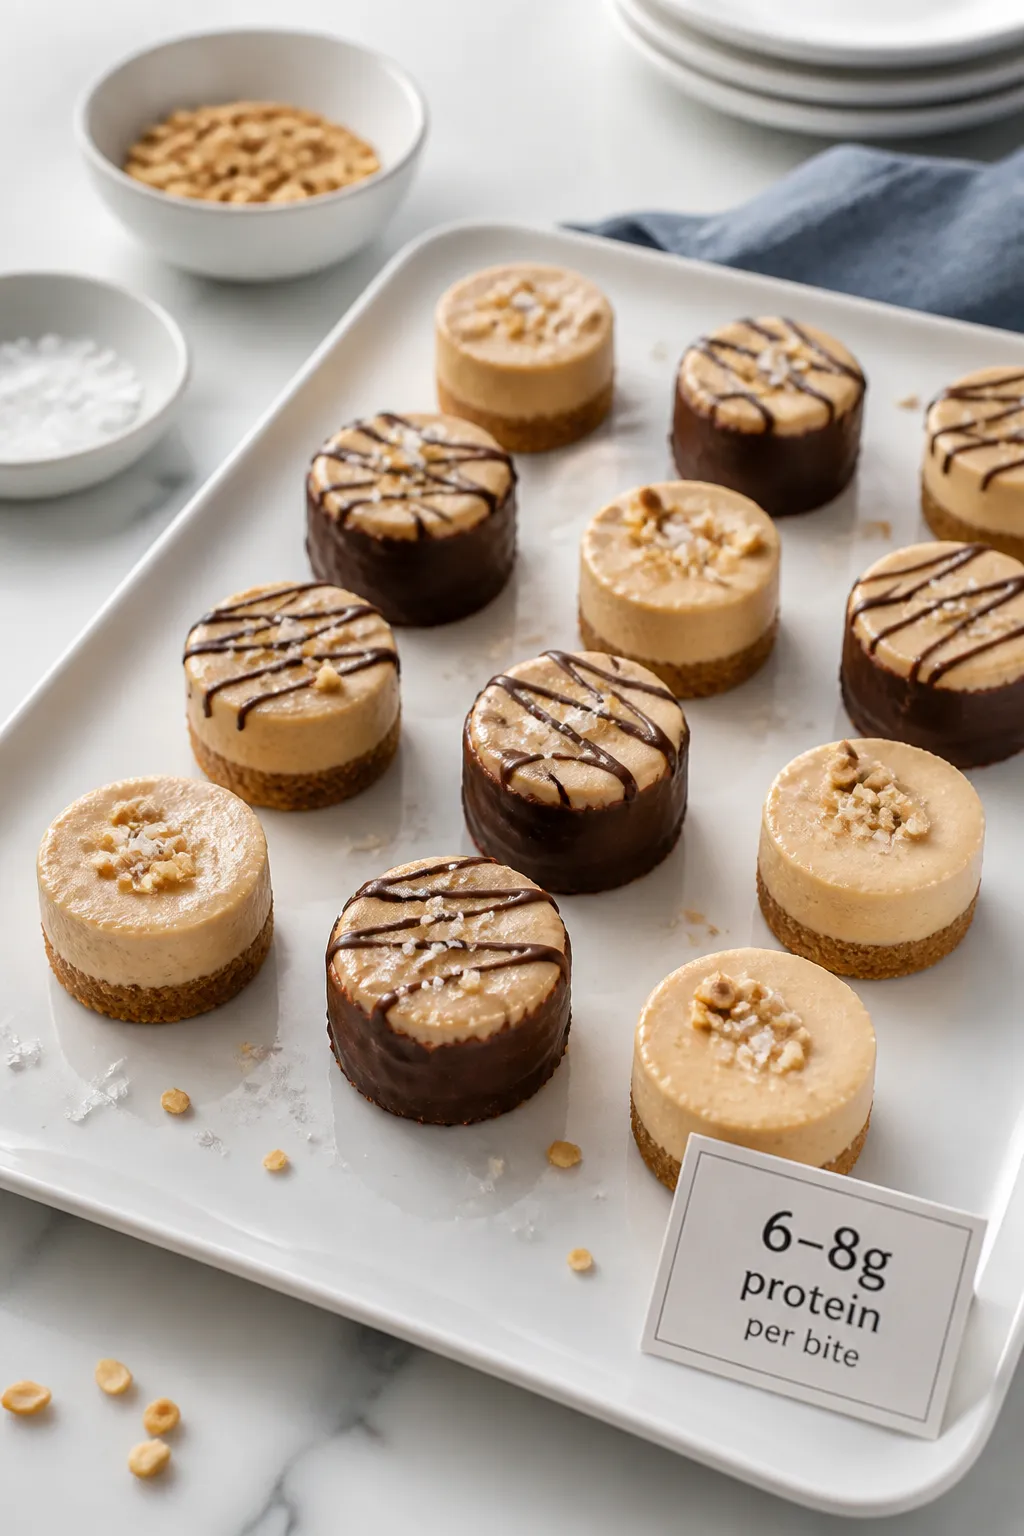
- Optional chocolate shell: Melt chocolate chips with coconut oil in the microwave in 20–30 second bursts, stirring until smooth. Spoon a thin layer over each chilled bite. Return to the fridge for 15 minutes to set.
- Serve: Peel off liners and enjoy cold. For the best texture, let frozen bites sit at room temp for 5–10 minutes before eating.

What Makes This Special

These cheesecake bites have the texture of classic no-bake cheesecake but with a lighter, protein-packed twist. The base uses Greek yogurt and reduced-fat cream cheese for creaminess without the heavy calories.
A touch of peanut butter adds flavor and healthy fats, while protein powder boosts satiety and structure. The mini size makes portion control easy, and you can tweak the sweetness to fit your taste. They’re kid-friendly, gym-bag approved, and work for desserts, snacks, or a pre-workout bite.
What You’ll Need
- Reduced-fat cream cheese (8 oz/225 g), softened: Gives that classic cheesecake body while keeping it lighter.
- Plain Greek yogurt (1 cup/240 g): Adds tang, protein, and a creamy texture.
- Natural peanut butter (1/2 cup/120 g): Choose creamy, no-stir if possible for easy mixing.
- Vanilla whey or casein protein powder (1/2 cup/50–60 g): Provides structure and extra protein.
Casein makes them slightly thicker.
- Maple syrup or honey (3–4 tbsp): For sweetness. Adjust to taste.
- Vanilla extract (1 tsp): Rounds out the flavor.
- Pinch of fine sea salt: Balances sweetness and deepens peanut flavor.
- Lemon juice (1 tsp): Adds brightness like classic cheesecake.
- Optional chocolate layer: 1/2 cup (90 g) dark chocolate chips + 1 tsp coconut oil for a thin shell.
- Optional crust: 1 cup (100 g) graham cracker crumbs + 2 tbsp melted light butter or coconut oil.
- Mini muffin pan + paper liners or a silicone mold.
How to Make It
- Prep your pan: Line a mini muffin tin with paper liners. This recipe makes about 24 mini bites.
If you’re using silicone molds, a quick mist of nonstick spray helps with release.
- Optional crust: Stir graham crumbs with melted butter or coconut oil until they resemble wet sand. Press about 1 teaspoon into each liner. Freeze for 10 minutes to set.
Skip this step if you want lower carbs or prefer crustless bites.
- Soften and whisk: In a mixing bowl, beat softened cream cheese with a hand mixer until smooth and lump-free. This prevents a gritty texture later.
- Add yogurt and peanut butter: Whisk in Greek yogurt and peanut butter until creamy. Scrape the bowl so everything blends evenly.
- Sweeten and flavor: Add maple syrup or honey, vanilla extract, lemon juice, and a pinch of salt.
Taste and adjust sweetness. Remember the protein powder will mellow it, so slightly sweeter now is good.
- Mix in protein powder: Sprinkle protein powder over the mixture and blend on low until just combined. Avoid overmixing to keep the texture silky.
If it seems too thick, add 1–2 tablespoons of milk or almond milk.
- Fill the cups: Spoon the cheesecake mixture over the crust (or straight into liners) until nearly full. Smooth the tops with the back of a spoon.
- Chill to set: Refrigerate for at least 2–3 hours, or freeze for 60–90 minutes. They should feel firm but creamy when pressed.
- Optional chocolate shell: Melt chocolate chips with coconut oil in the microwave in 20–30 second bursts, stirring until smooth.
Spoon a thin layer over each chilled bite. Return to the fridge for 15 minutes to set.
- Serve: Peel off liners and enjoy cold. For the best texture, let frozen bites sit at room temp for 5–10 minutes before eating.
How to Store
- Refrigerator: Store in an airtight container for up to 5 days.
Keep them in a single layer to protect the tops.
- Freezer: Freeze on a sheet pan until solid, then transfer to a freezer bag. They keep well for up to 2 months. Thaw in the fridge overnight or on the counter for 10–15 minutes.
- On the go: Pack with an ice pack.
They soften quickly at room temperature, especially without the chocolate shell.
Benefits of This Recipe
- High protein: Between the Greek yogurt, cream cheese, and protein powder, each bite delivers a solid protein boost for energy and satiety.
- Balanced macros: Peanut butter adds healthy fats, while the optional crust or chocolate layer lets you tailor carbs to your goals.
- Portion control: Mini bites help you enjoy dessert without overdoing it. One or two can satisfy a craving.
- Meal-prep friendly: Make a batch on Sunday and you’ve got snacks all week.
- Customizable: Swap flavors, sweeteners, or toppings to match your preferences and dietary needs.
Common Mistakes to Avoid
- Using very cold cream cheese: This causes lumps. Soften it at room temperature for 30 minutes first.
- Overmixing after adding protein powder: It can make the texture pasty.
Mix just until smooth.
- Choosing a grainy protein: Some powders don’t dissolve well. Use a high-quality whey or a whey/casein blend for a creamy finish.
- Skipping the chill: The bites need time to set or they’ll be too soft. Plan for at least 2 hours in the fridge.
- Overdoing the sweetener: These taste sweeter once they’re cold.
Start modest and adjust if needed.
Alternatives
- Dairy-free: Use dairy-free cream cheese, coconut yogurt, and a plant-based protein powder. Choose almond butter or sunflower seed butter instead of peanut butter if preferred.
- No added sugar: Replace syrup or honey with a powdered, bake-stable sweetener like allulose or a monk fruit blend. Add 1–2 tablespoons milk if the mix gets too thick.
- Flavor swaps: Try chocolate protein with a cocoa swirl, or add a tablespoon of espresso for a mocha twist.
A dash of cinnamon or a few mini chocolate chips changes the vibe fast.
- Crust options: Use crushed high-protein cereal, oat flour with almond butter, or skip the crust entirely for fewer carbs.
- Topping ideas: Flaky sea salt, crushed peanuts, a drizzle of melted dark chocolate, or a few cacao nibs for crunch.
FAQ
Can I make these without protein powder?
Yes. Replace the protein powder with 1/4 cup powdered peanut butter and 2–3 tablespoons oat flour to help set the mixture. You may need a little less sweetener.
Chill time will be the same.
What’s the best protein powder for this recipe?
Whey or a whey/casein blend gives the creamiest texture. Casein alone makes a thicker, more fudge-like bite. If using plant-based protein, choose a very fine powder and add a splash of milk to avoid chalkiness.
Can I make them as full-size bars?
Absolutely.
Press the crust into an 8×8-inch pan lined with parchment, spread the filling on top, and chill 3–4 hours. Slice into squares once set. Double the chocolate shell if you want a thicker topping.
How much protein is in each bite?
It varies with brands, but a typical batch of 24 mini bites lands around 6–8 grams of protein per piece if using Greek yogurt, reduced-fat cream cheese, and whey protein.
Check your labels for a precise count.
Do they taste like traditional cheesecake?
They’re very close, just lighter and a bit tangier from the Greek yogurt. The peanut butter adds a familiar, cozy flavor that pairs well with the creamy base.
Can I use powdered peanut butter instead of regular?
You can swap half of the peanut butter for powdered peanut butter to lower the fat and calories. Keep at least some real peanut butter for flavor and texture, or add a teaspoon of oil if the mixture seems dry.
Why are my bites crumbly or chalky?
That usually means too much protein powder or a low-quality one.
Measure by weight if possible, and mix just until smooth. A tablespoon or two of milk can rescue a mix that’s too thick.
How long can they sit out?
Keep them chilled. At room temperature, they’ll soften in 20–30 minutes.
For parties, set out small batches and rotate from the fridge as needed.
In Conclusion
High protein peanut butter cheesecake bites bring together comfort and convenience in a tidy, snackable package. They’re creamy, satisfying, and easy to customize, whether you prefer a classic chocolate shell or a simple crustless version. Make a tray once, and you’ve got better-for-you treats ready whenever cravings hit.
Keep a batch in your fridge or freezer, and enjoy a dessert that actually pulls its weight nutritionally—no compromise on taste required.
Printable Recipe Card
Want just the essential recipe details without scrolling through the article? Get our printable recipe card with just the ingredients and instructions.