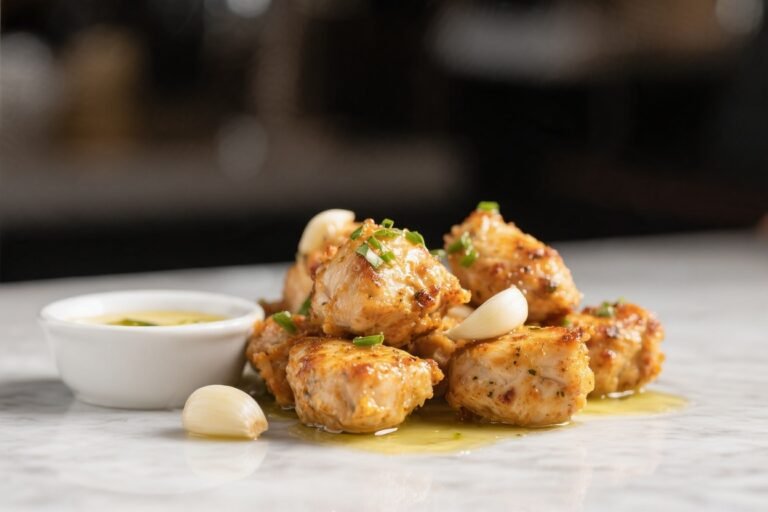
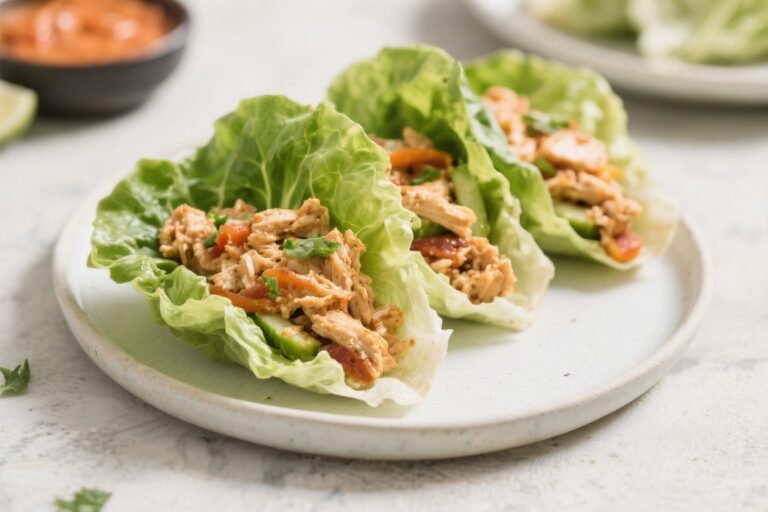
Garlic Parmesan Chicken Stuffed Peppers – Comforting, Flavor-Packed, and Easy
These Garlic Parmesan Chicken Stuffed Peppers hit all the right notes: savory, cheesy, and satisfying without being heavy. They’re hearty enough for a weeknight dinner but feel special enough for guests. The filling is creamy and garlicky with a gentle tang, and the peppers roast until tender and sweet.
It’s the kind of meal that makes your kitchen smell amazing and has everyone asking for seconds. Best of all, it’s easy to prep, customizable, and great for meal prep.
Garlic Parmesan Chicken Stuffed Peppers - Comforting, Flavor-Packed, and Easy
Ingredients
Method
- Preheat the oven. Set it to 400°F (200°C). Line a baking sheet or a 9x13-inch dish with parchment for easy cleanup.
- Prep the peppers. Slice peppers in half lengthwise, keeping stems intact if possible. Scoop out seeds and membranes. Brush with a little olive oil and season with salt and pepper. Place cut-side up in the baking dish.
- Par-bake the peppers. Roast for 10–12 minutes to soften slightly. This step ensures the peppers are tender by the time the filling is hot and bubbly.
- Sauté aromatics. While the peppers bake, heat olive oil in a skillet over medium. Add onion and cook 3–4 minutes until translucent. Stir in garlic and red pepper flakes; cook 30 seconds until fragrant.
- Build the sauce. Add Italian seasoning and chicken broth. Simmer 2–3 minutes to reduce slightly.
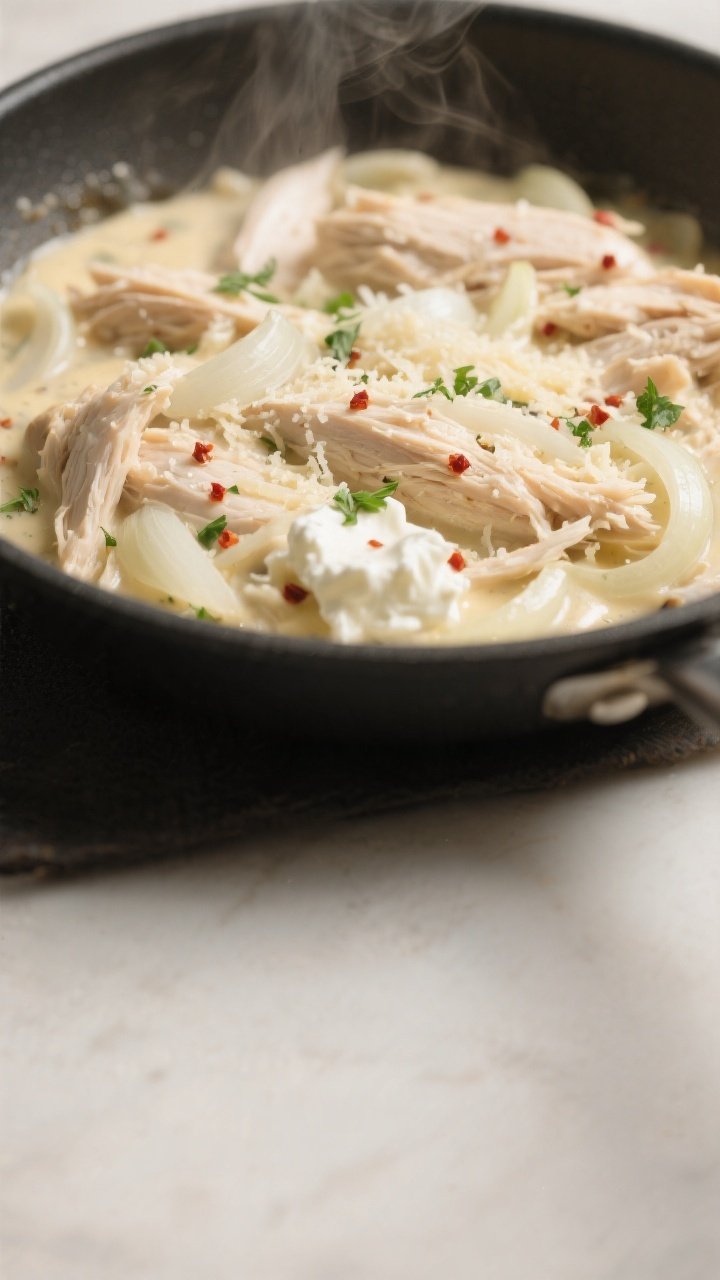
- Make it creamy. Lower the heat and stir in cream cheese until smooth. Remove from heat and mix in Greek yogurt or sour cream, 1/2 cup Parmesan, lemon juice, and zest.
- Add chicken and herbs. Fold in the shredded chicken and parsley. Taste and season with salt and black pepper. The filling should be creamy but scoopable; add a splash of broth if too thick.
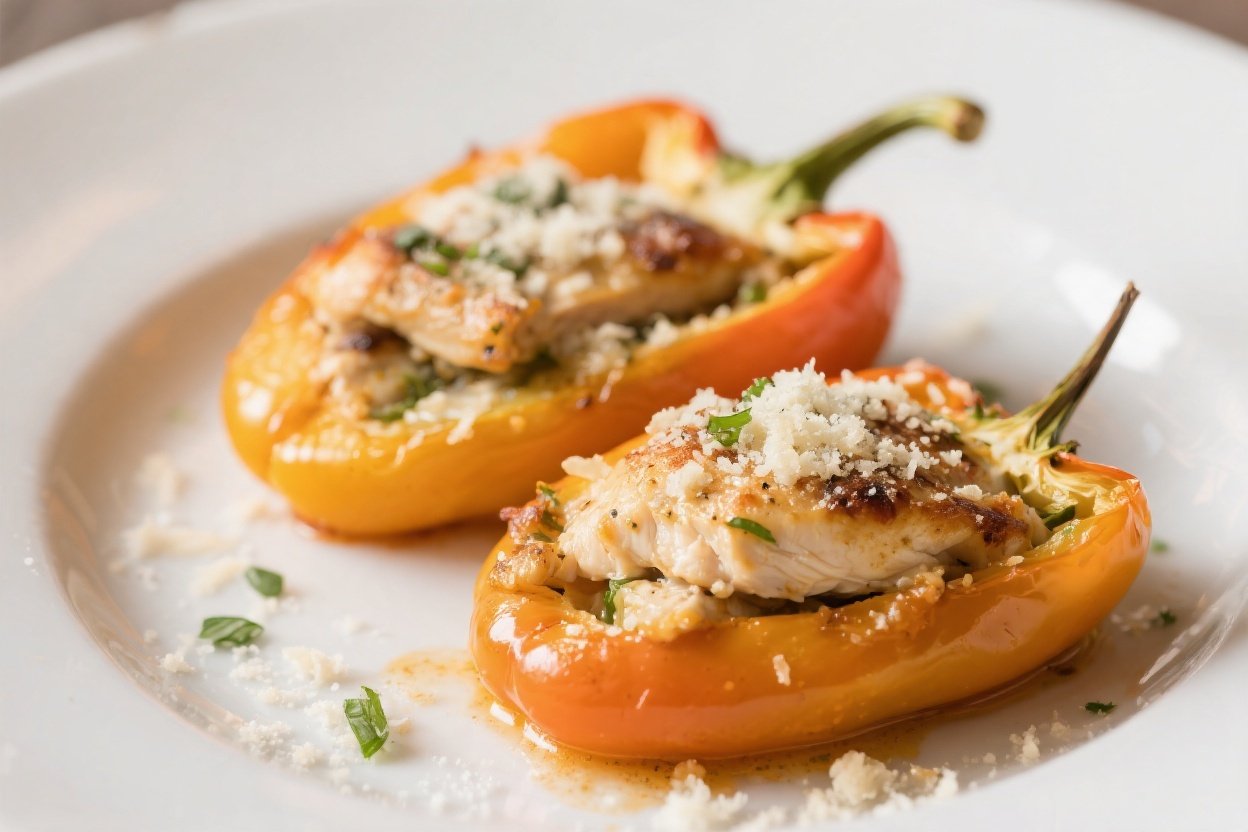
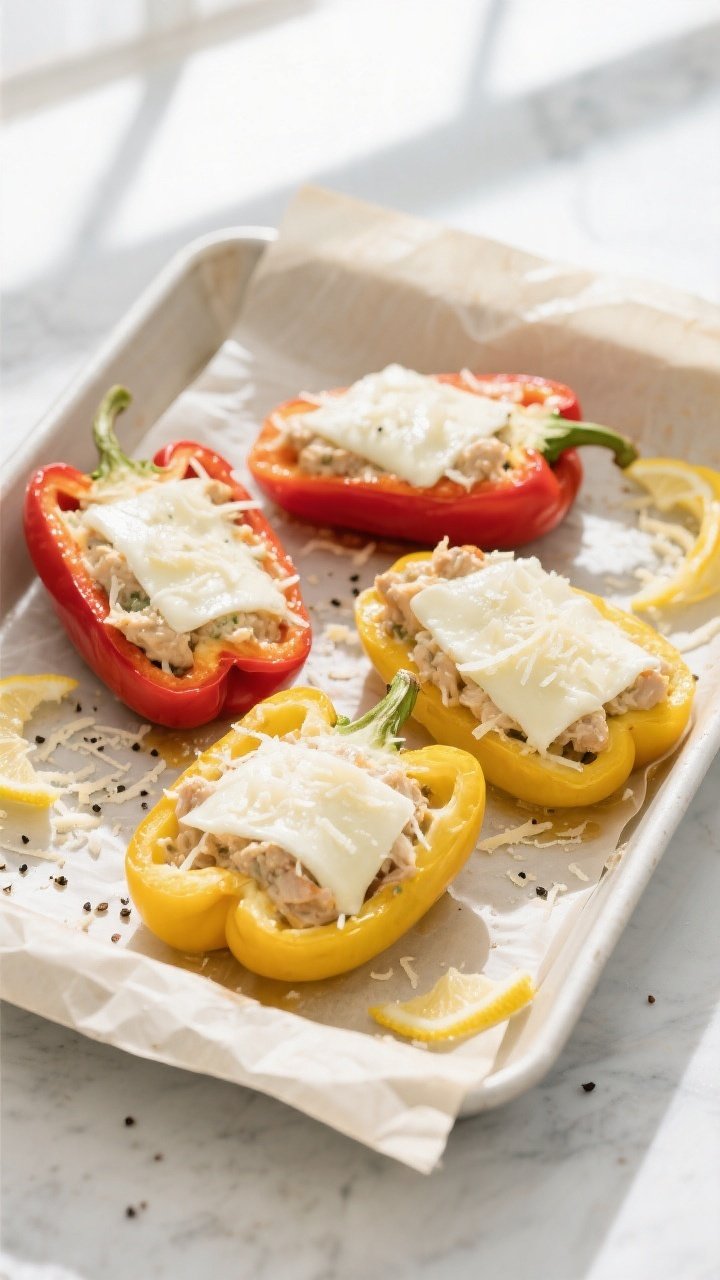
- Stuff the peppers. Spoon the mixture into each par-baked pepper half. Top with mozzarella and the remaining 1/4 cup Parmesan for a golden, cheesy crust.
- Bake to finish. Return to the oven for 12–15 minutes, until the cheese is melted and lightly browned and the peppers are fork-tender.
- Rest and serve. Let peppers rest for 5 minutes so the filling sets. Garnish with extra parsley and a crack of black pepper.
Why This Recipe Works
The magic here is balance. The sweetness of roasted bell peppers pairs beautifully with the rich, savory mix of chicken, garlic, and Parmesan.
A touch of cream cheese binds everything together without turning the filling heavy. Fresh herbs and lemon brighten the dish so it never tastes flat. Finally, a crispy Parmesan topping adds crunch and a hint of indulgence that keeps you coming back for another bite.
Ingredients
- 4 large bell peppers (red, yellow, or orange are best for sweetness)
- 2 cups cooked chicken, shredded or diced (rotisserie works great)
- 1 tablespoon olive oil
- 1 small yellow onion, finely chopped
- 4 cloves garlic, minced
- 1/2 teaspoon crushed red pepper flakes (optional, for gentle heat)
- 1 teaspoon Italian seasoning or dried oregano
- 1/2 cup chicken broth
- 4 ounces cream cheese, softened
- 1/2 cup plain Greek yogurt or sour cream
- 3/4 cup grated Parmesan cheese, divided
- 1 cup shredded mozzarella
- 1 tablespoon lemon juice plus zest of 1/2 lemon
- 2 tablespoons fresh parsley or basil, chopped
- Salt and black pepper to taste
How to Make It
- Preheat the oven. Set it to 400°F (200°C).
Line a baking sheet or a 9×13-inch dish with parchment for easy cleanup.
- Prep the peppers. Slice peppers in half lengthwise, keeping stems intact if possible. Scoop out seeds and membranes. Brush with a little olive oil and season with salt and pepper.
Place cut-side up in the baking dish.
- Par-bake the peppers. Roast for 10–12 minutes to soften slightly. This step ensures the peppers are tender by the time the filling is hot and bubbly.
- Sauté aromatics. While the peppers bake, heat olive oil in a skillet over medium. Add onion and cook 3–4 minutes until translucent.
Stir in garlic and red pepper flakes; cook 30 seconds until fragrant.
- Build the sauce. Add Italian seasoning and chicken broth. Simmer 2–3 minutes to reduce slightly.
- Make it creamy. Lower the heat and stir in cream cheese until smooth. Remove from heat and mix in Greek yogurt or sour cream, 1/2 cup Parmesan, lemon juice, and zest.
- Add chicken and herbs. Fold in the shredded chicken and parsley.
Taste and season with salt and black pepper. The filling should be creamy but scoopable; add a splash of broth if too thick.
- Stuff the peppers. Spoon the mixture into each par-baked pepper half. Top with mozzarella and the remaining 1/4 cup Parmesan for a golden, cheesy crust.
- Bake to finish. Return to the oven for 12–15 minutes, until the cheese is melted and lightly browned and the peppers are fork-tender.
- Rest and serve. Let peppers rest for 5 minutes so the filling sets.
Garnish with extra parsley and a crack of black pepper.
How to Store
- Refrigerate: Store leftovers in an airtight container for up to 4 days.
- Freeze: Cool completely, wrap each stuffed pepper tightly, then freeze in a zip-top bag for up to 2 months. Thaw overnight in the fridge before reheating.
- Reheat: Warm in a 350°F (175°C) oven for 15–20 minutes, or microwave in 45-second bursts until hot. Add a sprinkle of water and cover if reheating in the oven to prevent drying.
- Meal prep tip: Make the filling up to 2 days ahead.
Stuff and bake when ready for dinner.
Health Benefits
- Lean protein: Chicken provides a solid protein boost to keep you full and support muscle health.
- Veggie-forward: Bell peppers are rich in vitamin C, vitamin A, and antioxidants, all while being low in calories.
- Balanced fats: Cheese and olive oil contribute satisfying fats that help with nutrient absorption and flavor.
- Lower-carb option: This dish skips heavy grains and keeps the focus on protein and vegetables without feeling restrictive.
Pitfalls to Watch Out For
- Under-seasoning: The filling needs enough salt, pepper, and acid. Taste and adjust before stuffing.
- Watery peppers: Don’t skip the par-bake step. It draws out moisture and prevents soggy results.
- Overcooking: Peppers should be tender but not collapsing.
Check at the 12-minute mark during the final bake.
- Too-thick filling: If the mixture is paste-like, loosen with a splash of broth for a creamy texture.
- Burnt topping: If cheese browns too fast, tent with foil for the last few minutes.
Recipe Variations
- Spinach artichoke style: Stir in 1 cup chopped spinach and 1/2 cup chopped artichoke hearts to the filling.
- Bacon lovers: Add 1/3 cup crispy chopped bacon to the mixture for smoky depth.
- Herb-forward: Swap parsley for basil and add 1 tablespoon chopped chives for a garden-fresh twist.
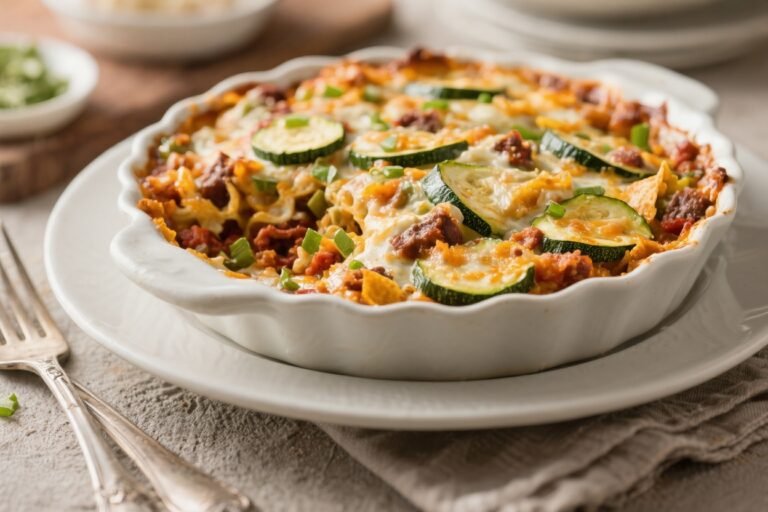
- Extra veggies: Fold in sautéed mushrooms or zucchini for more texture and fiber.
- Lighter dairy: Use Neufchâtel (reduced-fat cream cheese) and part-skim mozzarella to trim calories.
- Gluten-free crunch: Mix 2 tablespoons almond flour with 2 tablespoons Parmesan and sprinkle on top for a crisp crust.
- Buffalo Parmesan: Add 2 tablespoons hot sauce to the filling and finish with blue cheese crumbles.
- No-chicken swap: Use ground turkey, rotisserie turkey, or cooked white beans for a different protein profile.
FAQ
Can I use raw chicken instead of cooked?
Loved This Recipe?
If you're looking for more simple, healthy keto dinners, grab my FREE 7-Day Easy Keto Dinner Reset. You'll get 7 easy keto dinner recipes, simple grocery lists, and a done-for-you plan that takes the stress out of mealtime.
Yes, but cook it first. Sauté diced chicken with salt and pepper until no longer pink, then proceed with the recipe. Using pre-cooked or rotisserie chicken simply speeds things up.
Do I have to par-bake the peppers?
It’s strongly recommended.
Par-baking softens the peppers and removes excess moisture so the final dish isn’t watery. Skipping it can lead to undercooked, crunchy peppers.
What color peppers are best?
Red, yellow, and orange are sweeter and caramelize nicely. Green peppers are more bitter and firm, which some people love for contrast.
Use what you prefer.
Can I make this ahead?
Yes. Assemble the stuffed peppers, cover, and refrigerate for up to 24 hours. Bake straight from the fridge, adding 5–10 extra minutes.
How can I make it spicier?
Add more crushed red pepper, a pinch of cayenne, or a spoonful of Calabrian chili paste to the filling.
You can also serve with a drizzle of chili oil.
What can I use instead of cream cheese?
Mascarpone or ricotta can work, though the texture will be slightly different. If using ricotta, drain it well and add a bit more Parmesan for richness.
How do I prevent the cheese from getting greasy?
Use part-skim mozzarella and good-quality Parmesan. Avoid overbaking; once the cheese melts and starts to brown, pull the peppers from the oven.
Can I cook these in an air fryer?
Yes.
Air-fry the empty pepper halves at 375°F (190°C) for 5–6 minutes, stuff, then air-fry another 6–8 minutes until bubbly and tender. Work in batches as needed.
In Conclusion
Garlic Parmesan Chicken Stuffed Peppers deliver big flavor with simple ingredients. They’re creamy, garlicky, and bright, with just enough crunch on top to keep things interesting.
Whether you’re feeding the family or stocking the fridge for the week, this recipe checks all the boxes: easy, comforting, and customizable. Keep it classic, or try a variation that fits your mood—either way, you’ll have a dinner that tastes like it took all day, without the fuss.
Printable Recipe Card
Want just the essential recipe details without scrolling through the article? Get our printable recipe card with just the ingredients and instructions.
Need More Easy Keto Dinner Ideas?
Get my FREE 7-Day Easy Keto Dinner Reset and enjoy a full week of healthy dinners without the meal-planning stress.