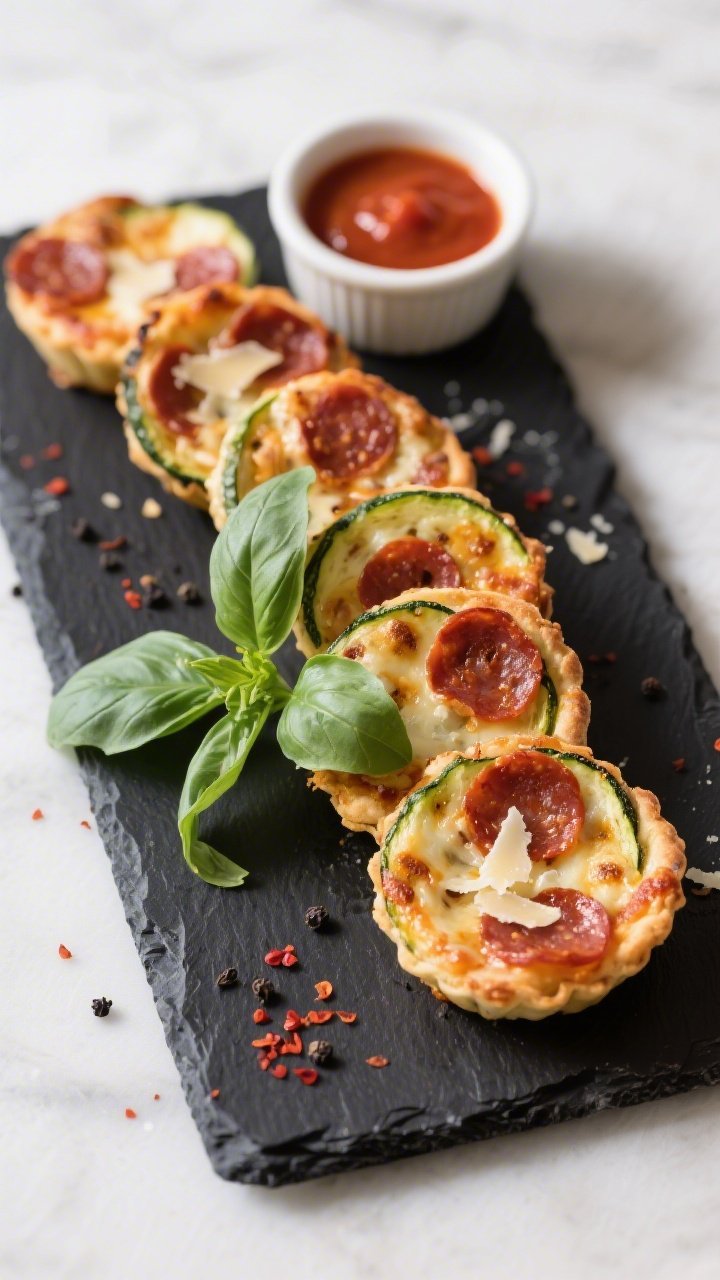
Keto Zucchini Pepperoni Pizza Cups – A Quick, Cheesy Low-Carb Snack
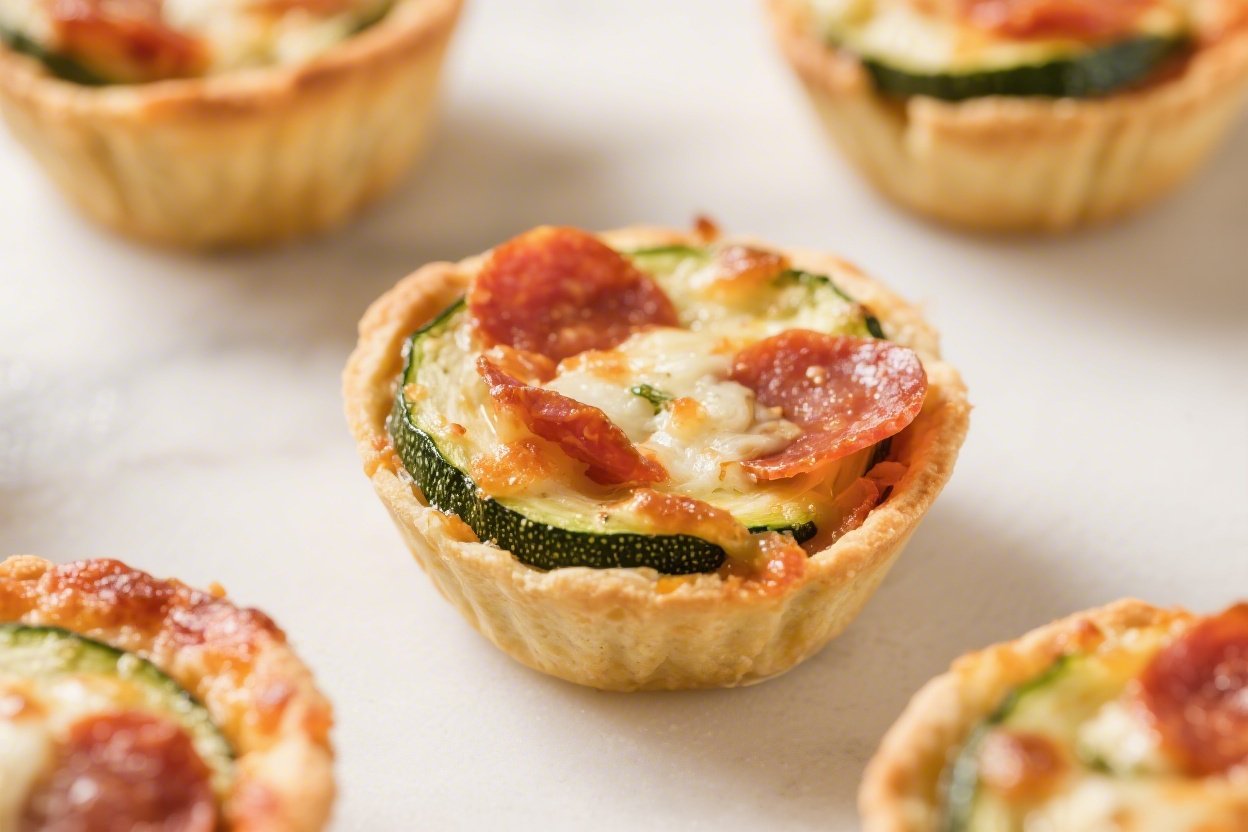
These Keto Zucchini Pepperoni Pizza Cups deliver all the best parts of pizza—crispy edges, gooey cheese, and bold pepperoni—in a bite-sized, low-carb package. They’re fast, fun, and surprisingly satisfying. Whether you need a game day snack, a lunchbox-friendly bite, or an easy weeknight appetizer, these fit the bill.
No complicated steps or odd ingredients—just simple prep and big flavor. You’ll love how customizable and forgiving this recipe is, even on a busy weeknight.
Ingredients
Method
- Prep the pan: Heat your oven to 400°F (200°C). Lightly oil a standard 12-cup muffin tin or line with silicone liners for easy release.
- Grate and drain the zucchini: Use the large holes of a box grater. Toss the grated zucchini with a pinch of salt and let it sit for 5–10 minutes. Squeeze out as much moisture as you can with a clean kitchen towel or paper towels. Dry zucchini = crisp cups.
- Make the base mixture: In a bowl, combine zucchini, egg, 3/4 cup mozzarella, Parmesan, almond flour, Italian seasoning, garlic powder, 1/4 teaspoon salt, and a few grinds of black pepper. Mix until it holds together like a soft dough.
- Form the cups: Divide the mixture evenly into the muffin tin. Press it up the sides to make a shallow well in each cup. Aim for even thickness so they bake uniformly.
- Pre-bake the shells: Bake for 10–12 minutes until set and lightly golden at the edges. This step keeps them sturdy and prevents sogginess.
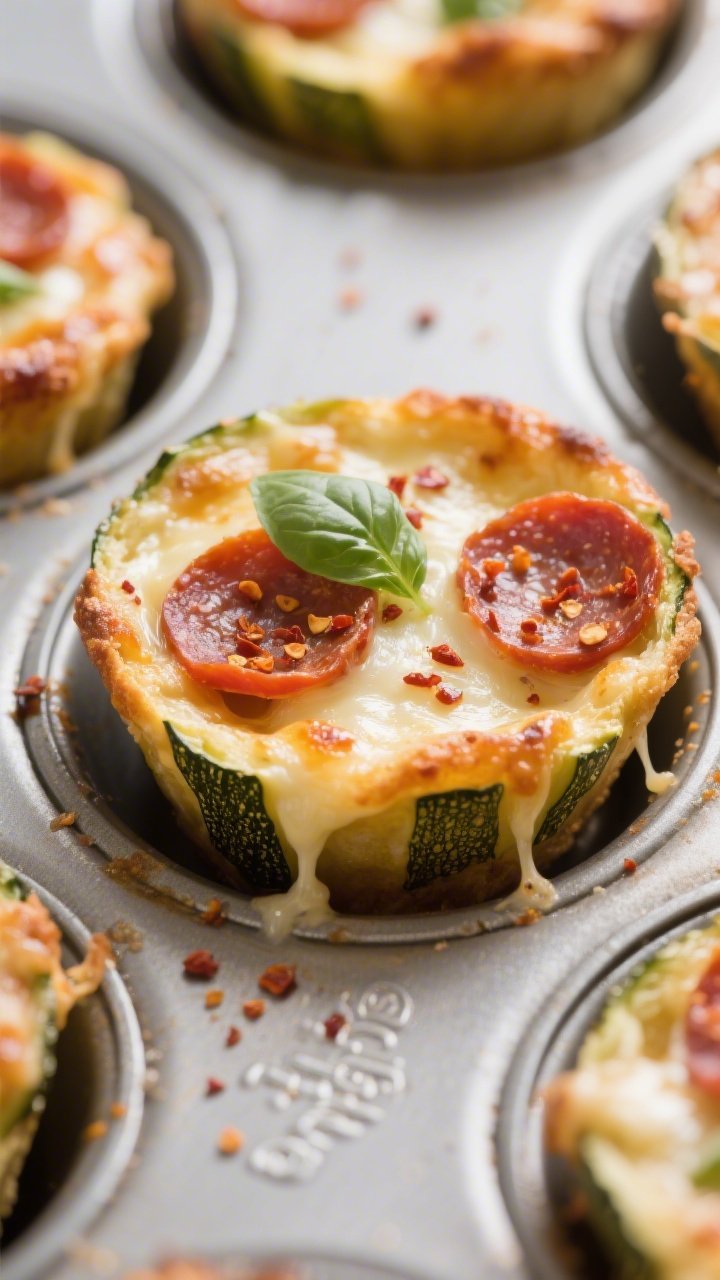
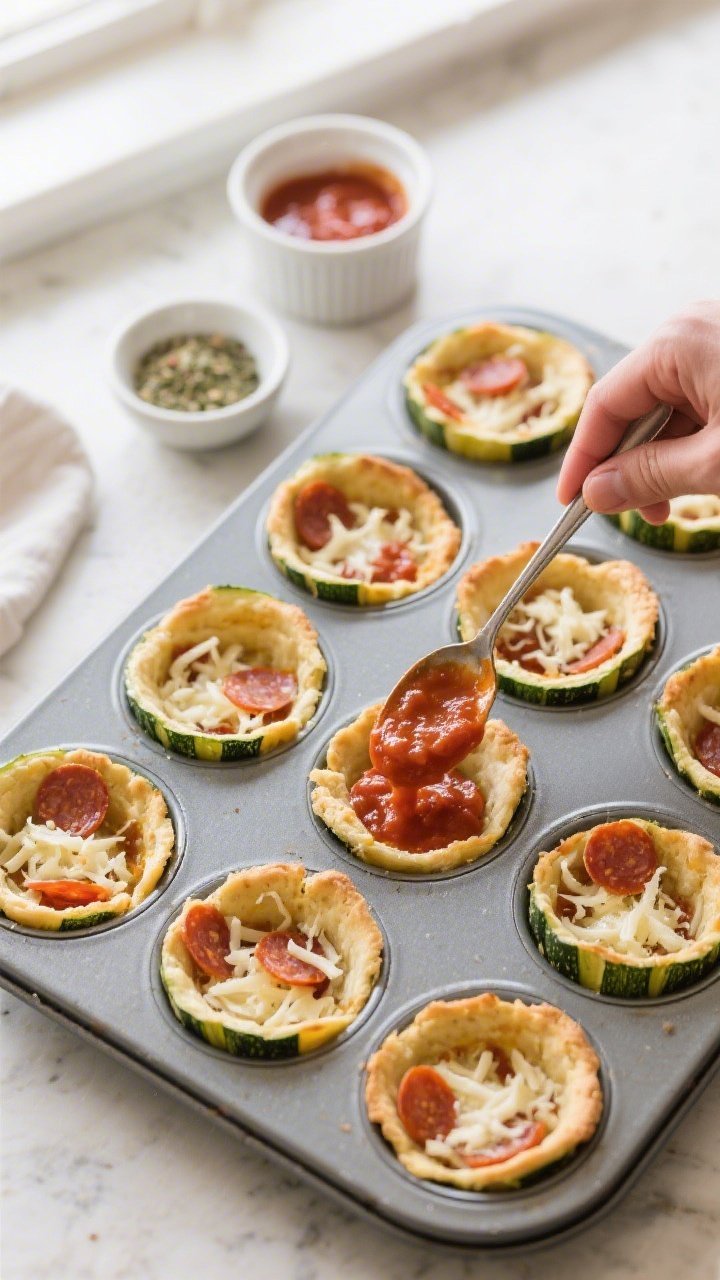
- Add sauce and toppings: Spoon about 2 teaspoons of low-sugar pizza sauce into each cup. Top with the remaining mozzarella, a few pieces of pepperoni, and a sprinkle of red pepper flakes if you like heat.
- Bake to finish: Return to the oven for 6–8 minutes, or until the cheese is melted and bubbling. For extra browning, switch to broil for 1–2 minutes at the end. Watch closely.
- Rest, then release: Let the cups cool for 5 minutes so they firm up. Run a thin spatula or butter knife around the edges to lift them out. Finish with chopped basil or parsley.
- Serve: Enjoy warm with extra sauce for dipping if you like. They’re great as a snack, appetizer, or paired with a simple salad for lunch.

What Makes This Special
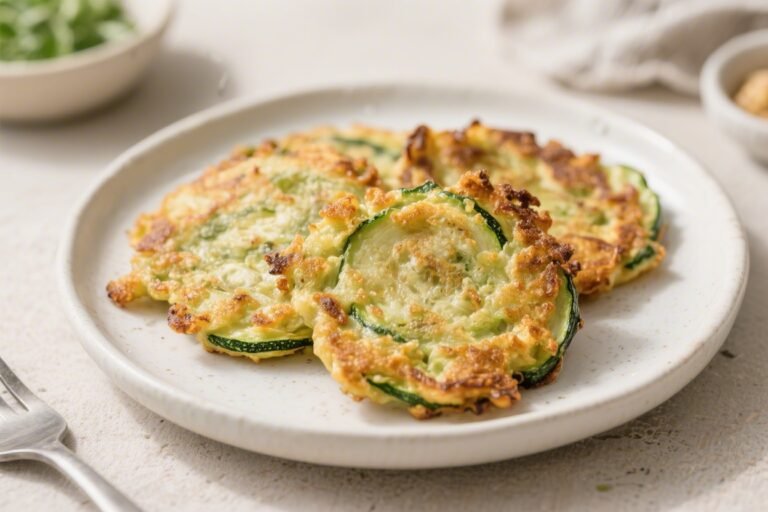
These pizza cups turn humble zucchini into a sturdy base with crisp edges and cheesy tops. They’re perfect when you’re craving pizza but want to keep carbs low and stick to clean ingredients.
Each cup is loaded with pepperoni, mozzarella, and a punchy sauce, so you still get that classic pizza taste. They also bake in under 20 minutes and use a standard muffin tin for easy handling. Plus, they reheat well, making them ideal for meal prep.
Shopping List
- Medium zucchini (3–4, firm and not overly seedy)
- Large egg (1)
- Shredded mozzarella cheese (1 1/2 cups, divided)
- Grated Parmesan (1/4 cup)
- Almond flour (1/3 cup) or finely ground pork rinds for extra crispness
- Low-sugar pizza sauce or marinara (1/2 cup)
- Mini pepperoni (1/2 cup) or regular pepperoni cut into quarters
- Italian seasoning (1 teaspoon)
- Garlic powder (1/2 teaspoon)
- Crushed red pepper flakes (optional, to taste)
- Salt and black pepper
- Olive oil or avocado oil spray (for the pan)
- Fresh basil or parsley (optional garnish)
Step-by-Step Instructions
- Prep the pan: Heat your oven to 400°F (200°C).
Lightly oil a standard 12-cup muffin tin or line with silicone liners for easy release.
- Grate and drain the zucchini: Use the large holes of a box grater. Toss the grated zucchini with a pinch of salt and let it sit for 5–10 minutes. Squeeze out as much moisture as you can with a clean kitchen towel or paper towels. Dry zucchini = crisp cups.
- Make the base mixture: In a bowl, combine zucchini, egg, 3/4 cup mozzarella, Parmesan, almond flour, Italian seasoning, garlic powder, 1/4 teaspoon salt, and a few grinds of black pepper.
Mix until it holds together like a soft dough.
- Form the cups: Divide the mixture evenly into the muffin tin. Press it up the sides to make a shallow well in each cup. Aim for even thickness so they bake uniformly.
- Pre-bake the shells: Bake for 10–12 minutes until set and lightly golden at the edges.
This step keeps them sturdy and prevents sogginess.
- Add sauce and toppings: Spoon about 2 teaspoons of low-sugar pizza sauce into each cup. Top with the remaining mozzarella, a few pieces of pepperoni, and a sprinkle of red pepper flakes if you like heat.
- Bake to finish: Return to the oven for 6–8 minutes, or until the cheese is melted and bubbling. For extra browning, switch to broil for 1–2 minutes at the end.
Watch closely.
- Rest, then release: Let the cups cool for 5 minutes so they firm up. Run a thin spatula or butter knife around the edges to lift them out. Finish with chopped basil or parsley.
- Serve: Enjoy warm with extra sauce for dipping if you like.
They’re great as a snack, appetizer, or paired with a simple salad for lunch.
Keeping It Fresh
Store leftovers in an airtight container in the fridge for up to 4 days. Reheat in a 350°F (175°C) oven or air fryer for 5–7 minutes to restore crisp edges. Microwaving works in a pinch, but the texture will be softer.
For freezing, cool completely, place on a baking sheet to freeze solid, then transfer to a freezer bag for up to 2 months. Reheat from frozen in the oven or air fryer until hot and bubbly.
Benefits of This Recipe
- Low-carb and keto-friendly: Zucchini and almond flour keep carbs down while still delivering that pizza feel.
- Protein and fat balance: Cheese, egg, and pepperoni help keep you full and satisfied.
- Meal-prep friendly: Easy to batch, pack, and reheat without losing flavor.
- Kid-approved flavors: Classic pizza taste with simple ingredients.
- Customizable: Swap toppings to match your cravings or dietary needs.
What Not to Do
- Don’t skip draining the zucchini. Excess moisture leads to soggy cups that collapse.
- Don’t overload with sauce. A little goes a long way and keeps the texture crisp.
- Don’t under-season. Zucchini is mild; seasoning brings everything to life.
- Don’t forget the pre-bake. It’s key for structure and browning.
- Don’t skip greasing the pan if you’re not using silicone liners. Sticking ruins the edges.
Recipe Variations
- Supreme Cups: Add minced bell pepper, onion, and a few slices of black olive.
Keep pieces small so the cups stay intact.
- Meat Lover’s: Mix in cooked, crumbled Italian sausage or bacon bits with the sauce layer.
- Margherita Style: Use fresh mozzarella pearls, a light brush of olive oil, and fresh basil with a sprinkle of salt.
- Spicy Pepperoni: Stir a pinch of cayenne into the zucchini base and use hot soppressata or spicy pepperoni.
- Dairy-Light: Use part-skim mozzarella and reduce the amount slightly; add more herbs for flavor.
- Nut-Free: Swap almond flour with finely crushed pork rinds or coconut flour (start with 2 tablespoons; coconut flour is absorbent).
- White Pizza Cups: Skip red sauce and use a thin layer of ricotta mixed with garlic and parsley.
FAQ
Can I make these without a muffin tin?
Yes. Form small mounds on a parchment-lined baking sheet, press a shallow well in each, and bake as directed. They’ll be more free-form but still tasty.
What’s the best way to keep them from sticking?
Use silicone liners or generously grease the muffin cups with oil.
Let the cups rest for a few minutes after baking before removing them to help them release cleanly.
Which sauce should I use for keto?
Choose a low-sugar or no-added-sugar marinara. Check labels and aim for 4 grams of net carbs or less per serving.
Can I make them vegetarian?
Absolutely. Skip the pepperoni and add mushrooms, olives, or sautéed spinach.
Season well to keep the flavor bold.
Do I need to peel the zucchini?
No. The skin adds color and light texture. Just wash and dry the zucchini well before grating.
How do I know when they’re done?
The edges should look slightly browned and the cheese on top should be melted and bubbling.
If the centers look wet, give them another minute or two.
Can I prep the mixture ahead?
You can mix the dry ingredients ahead, but wait to grate and salt the zucchini until just before baking. Pre-salted zucchini releases water and can get soggy if it sits too long.
What if my cups are too wet?
Squeeze more moisture out of the zucchini next time and extend the pre-bake by 2–3 minutes. Using pork rinds instead of almond flour also helps soak up extra moisture.
Final Thoughts
Keto Zucchini Pepperoni Pizza Cups are a smart, tasty way to enjoy pizza flavors without the carb load.
They’re quick to assemble, easy to customize, and great for sharing. Keep a batch on hand for snacks, busy weeknights, or party platters. With a few simple steps and good seasoning, you’ll get crispy edges, melty centers, and that familiar pepperoni kick—no delivery required.
Printable Recipe Card
Want just the essential recipe details without scrolling through the article? Get our printable recipe card with just the ingredients and instructions.