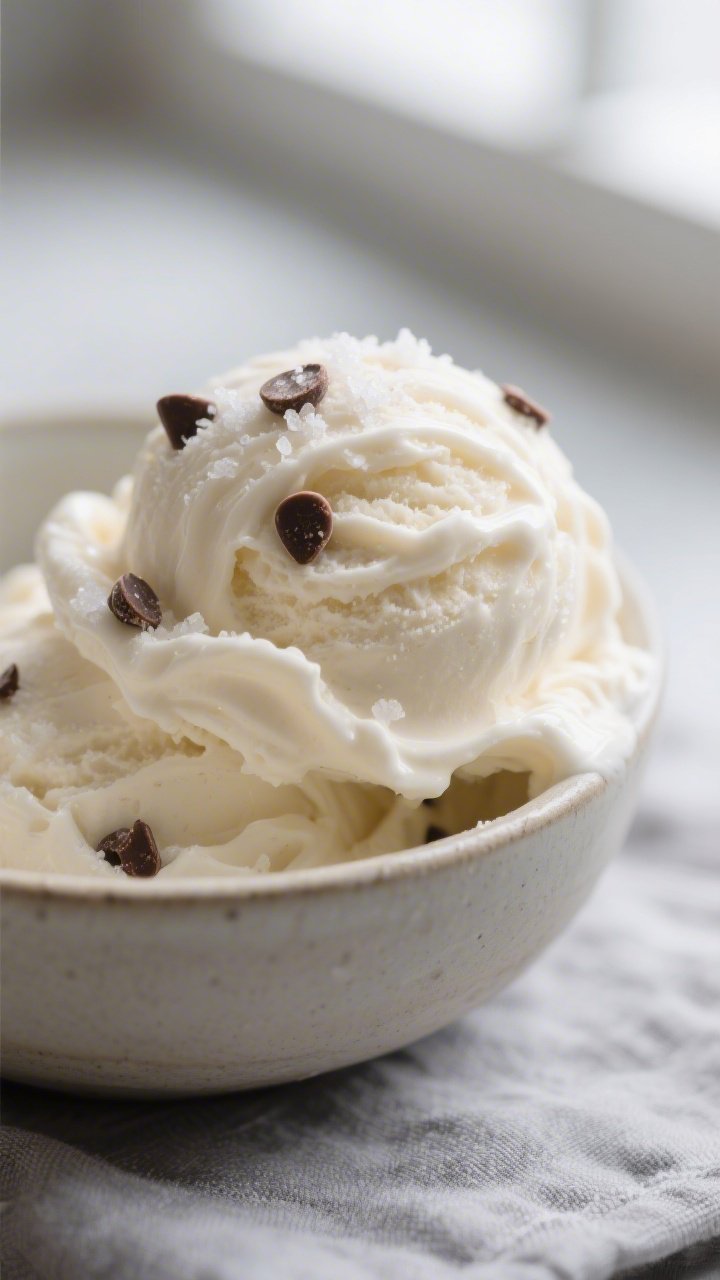
Keto Ice Cream (No Ice Cream Maker Needed!) – Creamy, Low-Carb, and Simple
This keto ice cream is rich, creamy, and sweet—without the sugar crash. You don’t need an ice cream machine or fancy tools, just a bowl, a whisk, and your freezer. It’s the kind of dessert you can throw together in 10 minutes and feel good about serving.
The texture is smooth, scoopable, and amazingly close to classic ice cream. Customize the flavor any way you like and enjoy a cool treat that fits your low-carb lifestyle.

Ingredients
Method
- Soften the cream cheese. Let it sit at room temperature for 20–30 minutes. This helps it blend smoothly and prevents lumps.
- Whip the cream. In a large, cold bowl, beat the heavy whipping cream with a hand mixer until stiff peaks form. Don’t overbeat to butter; stop when it holds its shape.
- Make the base. In a separate bowl, beat the softened cream cheese with the powdered sweetener and a pinch of salt until fluffy. Add the vanilla and almond milk, then blend until silky.
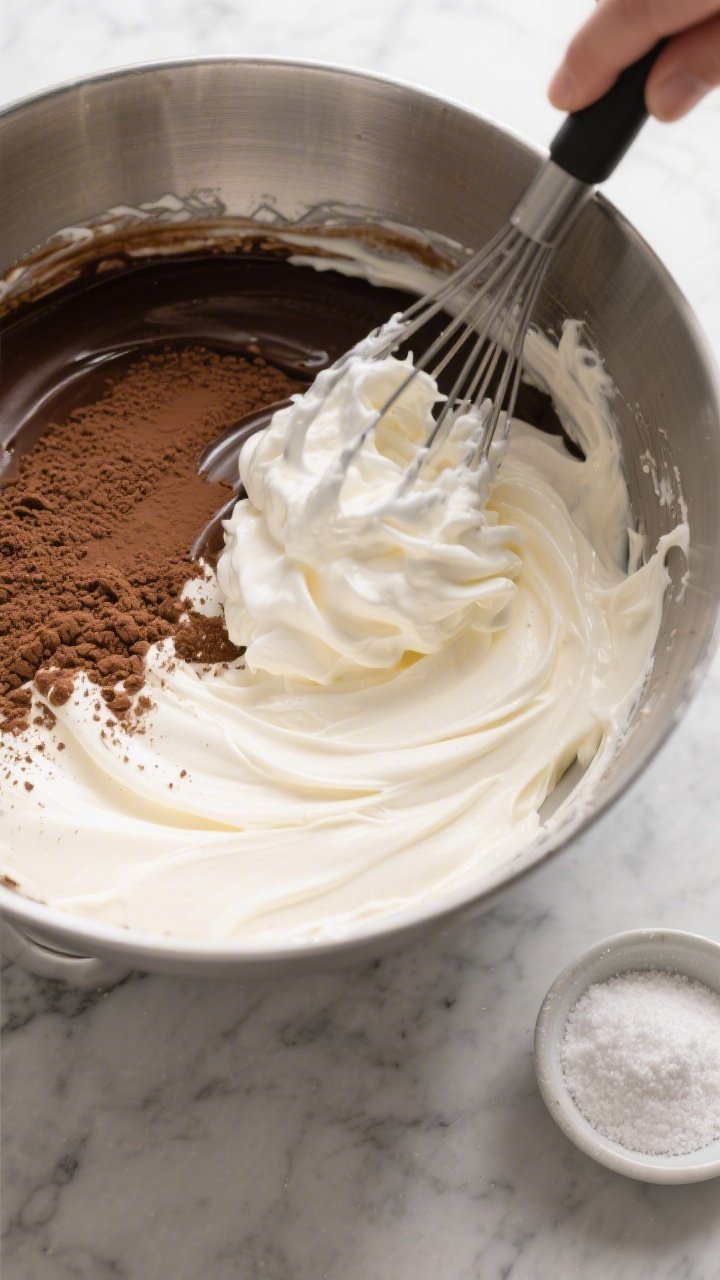
- Combine gently. Fold the whipped cream into the cream cheese mixture in two or three additions. Use a spatula and gentle strokes to keep the mixture airy.
- Add flavors. Stir in any add-ins. For chocolate, sift in 3–4 tablespoons of unsweetened cocoa. For coffee, add 1–2 teaspoons espresso powder. For peanut butter, swirl in 2–3 tablespoons.
- Taste and adjust. Sweetness can dull when frozen. If needed, add a bit more powdered sweetener and blend again. Allulose keeps texture softer than erythritol.
- Transfer and freeze. Spoon into a loaf pan or lidded freezer container. Smooth the top, cover tightly with plastic wrap (touching the surface), then a lid or foil to prevent ice crystals.
- Freeze. Chill for at least 4–6 hours, or overnight for a firmer scoop. For the creamiest texture, stir once at the 2-hour mark to break up any forming crystals (optional but helpful).
- Serve. Let it sit at room temperature for 5–10 minutes before scooping. Dip your scoop in warm water for cleaner scoops.

What Makes This Special
This recipe uses a simple technique: whisk, fold, and freeze. No churning required.
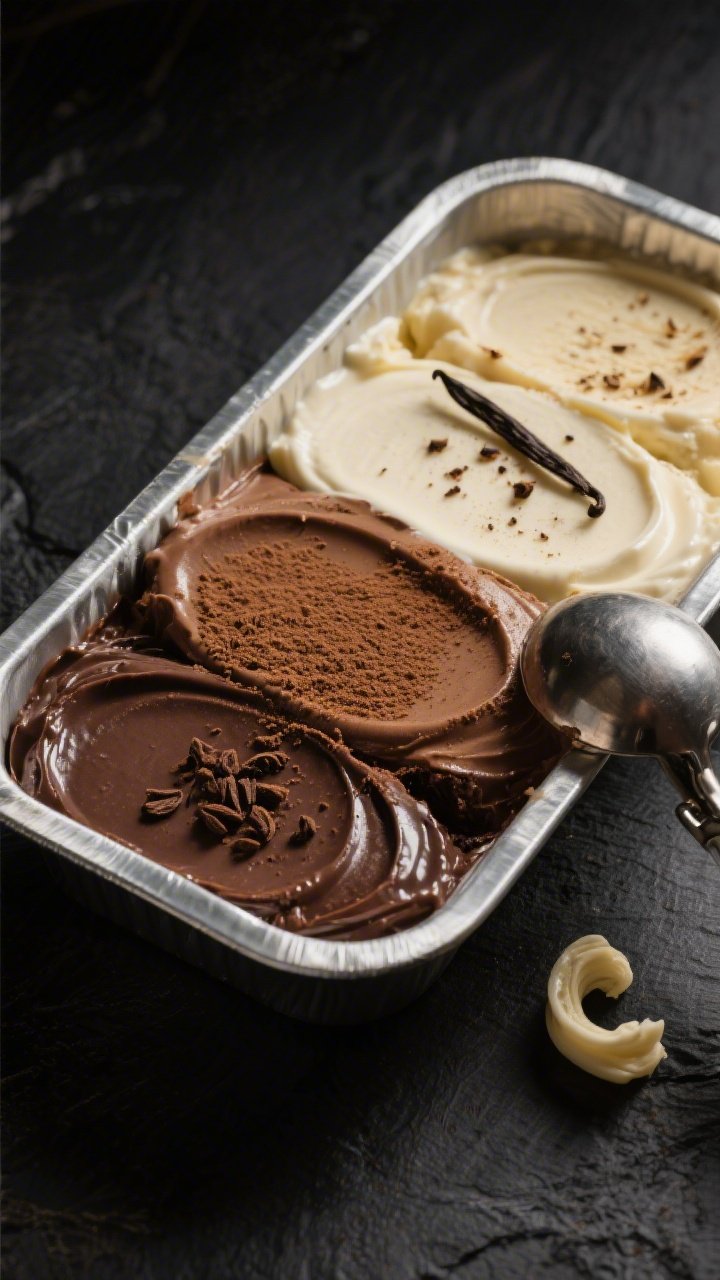
It turns out velvety thanks to a combo of heavy cream and cream cheese. It’s also easy to scale up or down and adapts to chocolate, vanilla, strawberry, or coffee flavors. Best of all, it stays low in carbs by using keto-friendly sweeteners that don’t spike blood sugar.
- No Ice Cream Maker: You’ll whip air into the cream for a soft, scoopable texture.
- Truly Keto: Uses low-glycemic sweeteners and full-fat dairy to keep carbs in check.
- Customizable: Add cocoa, berries, nuts, or sugar-free chocolate chips.
- Make-Ahead Friendly: Freezes beautifully and scoops well with a little thaw time.
Shopping List
- Heavy whipping cream (2 cups)
- Cream cheese (6 ounces, softened)
- Unsweetened almond milk (1/2 cup) or unsweetened coconut milk from a carton
- Powdered keto sweetener (1/2–3/4 cup), such as allulose, erythritol, or a blend
- Vanilla extract (2 teaspoons)
- Pinch of salt
- Optional flavor add-ins: cocoa powder, espresso powder, peanut butter, sugar-free chocolate chips, chopped nuts, berries (in moderation), or extracts (mint, almond)
Step-by-Step Instructions
- Soften the cream cheese. Let it sit at room temperature for 20–30 minutes.
This helps it blend smoothly and prevents lumps.
- Whip the cream. In a large, cold bowl, beat the heavy whipping cream with a hand mixer until stiff peaks form. Don’t overbeat to butter; stop when it holds its shape.
- Make the base. In a separate bowl, beat the softened cream cheese with the powdered sweetener and a pinch of salt until fluffy. Add the vanilla and almond milk, then blend until silky.
- Combine gently. Fold the whipped cream into the cream cheese mixture in two or three additions.
Use a spatula and gentle strokes to keep the mixture airy.
- Add flavors. Stir in any add-ins. For chocolate, sift in 3–4 tablespoons of unsweetened cocoa. For coffee, add 1–2 teaspoons espresso powder.
For peanut butter, swirl in 2–3 tablespoons.
- Taste and adjust. Sweetness can dull when frozen. If needed, add a bit more powdered sweetener and blend again. Allulose keeps texture softer than erythritol.
- Transfer and freeze. Spoon into a loaf pan or lidded freezer container. Smooth the top, cover tightly with plastic wrap (touching the surface), then a lid or foil to prevent ice crystals.
- Freeze. Chill for at least 4–6 hours, or overnight for a firmer scoop.
For the creamiest texture, stir once at the 2-hour mark to break up any forming crystals (optional but helpful).
- Serve. Let it sit at room temperature for 5–10 minutes before scooping. Dip your scoop in warm water for cleaner scoops.
How to Store
- Container: Keep in an airtight, freezer-safe container. Press plastic wrap directly onto the surface to prevent frost.
- Timing: Best texture in the first 1–2 weeks.
It will still be safe longer, but may firm up more over time.
- Soften Before Serving: Let it rest on the counter for 10 minutes, or microwave the container (not metal) in 10-second bursts just until scoopable.
Why This is Good for You
- Low Carb, High Satiety: The fat and protein help keep you full without a sugar spike.
- Blood Sugar Friendly: Using allulose or erythritol reduces net carbs and helps many people avoid cravings.
- Customizable Nutrition: Add nuts for healthy fats, cocoa for antioxidants, or a few berries for fiber and flavor.
Pitfalls to Watch Out For
- Grainy Texture: Erythritol can recrystallize when frozen. Use powdered form, or swap part or all for allulose to keep it smooth.
- Too Hard to Scoop: This can happen in very cold freezers. Let it sit out a bit longer or add 1 teaspoon vodka per batch to reduce iciness (optional, minimal impact on carbs).
- Lumps in the Base: Start with softened cream cheese and beat well with the liquid before folding in the whipped cream.
- Overwhipped Cream: If the cream gets clumpy, you’ll lose that silky texture.
Stop at stiff peaks.
Alternatives
- Dairy-Free: Use full-fat canned coconut milk (chilled, scoop the cream) in place of heavy cream, and dairy-free cream cheese. Add 1–2 tablespoons coconut oil for extra richness.
- Egg-Free Custard Vibe: Add 1/2 teaspoon xanthan gum to the base to mimic custard body. Sprinkle while blending to avoid clumps.
- Vanilla Bean: Swap vanilla extract for 1 vanilla bean, scraped.
Sweet and fragrant.
- Mint Chip: Add 1/2 teaspoon peppermint extract and 1/3 cup sugar-free chocolate chips. A few drops of natural green coloring if you like.
- Strawberry Swirl: Gently fold in 1/2 cup mashed strawberries sweetened with a touch of allulose. Keep portions modest to stay keto.
FAQ
What’s the best sweetener for creamy keto ice cream?
Allulose is the top pick for scoopable, creamy results because it doesn’t crystallize much when frozen.
Powdered erythritol works, but can be a bit icier. A blend of allulose and a small amount of monk fruit or stevia for extra sweetness is a great balance.
Can I make this without cream cheese?
Yes. Replace the cream cheese with 1 cup heavy cream plus 1/2 teaspoon xanthan gum.
Whip the extra cream separately and fold in. The xanthan gum helps with body and reduces iciness.
How many carbs per serving?
Exact numbers depend on your sweetener and add-ins, but a typical serving (about 1/2 cup) lands around 2–4 net carbs when using allulose and no high-carb mix-ins. Always calculate with your specific ingredients.
Why does homemade ice cream get harder over time?
Freezers pull moisture from the mixture and form larger ice crystals, making it firmer.
Using allulose, storing airtight with plastic wrap on the surface, and allowing it to soften before scooping all help maintain a creamy texture.
Can I use a blender?
You can blend the cream cheese, milk, vanilla, sweetener, and salt to get a silky base, but whip the heavy cream separately to stiff peaks and fold it in by hand to keep the airy texture.
Is this safe for diabetics?
Many people with diabetes enjoy keto ice cream due to its low sugar content, but responses vary. Check your sweeteners, monitor your blood glucose, and consult your healthcare provider if unsure.
Can I add alcohol?
A small amount, like 1–2 teaspoons of vodka or a keto-friendly liqueur, can improve scoopability by lowering the freezing point. Don’t overdo it, or it may not set firmly.
How long should I thaw it before serving?
Typically 5–10 minutes at room temperature works.
If your freezer runs very cold, you might need 15 minutes. A warm scoop makes it easier too.
What container works best?
A shallow, wide container like a metal loaf pan helps it freeze evenly and scoop easily. If using plastic, make sure it’s airtight and freezer-safe to prevent freezer burn.
Can I churn it if I do have an ice cream maker?
Yes.
Skip whipping the cream. Blend everything until smooth, chill, then churn according to your machine’s instructions for an extra-silky texture.
In Conclusion
This Keto Ice Cream (No Ice Cream Maker Needed!) delivers classic creamy goodness with simple steps and low carbs. It’s fast to make, easy to customize, and freezer-friendly for stress-free desserts all week.
Keep a batch on hand, switch up the flavors, and enjoy a scoop whenever the craving hits—no compromise, no machine, just pure creamy satisfaction.
Printable Recipe Card
Want just the essential recipe details without scrolling through the article? Get our printable recipe card with just the ingredients and instructions.